Car decals are a great way to illustrate or put advertisements on your car. They are made of adhesive vinyl that works best with a smooth flat surface and are also great for outdoor use.
Vinyl car decals are one of the best ways to personalise your car and display what you care about. They are designed for cars, but they also look great on home windows, laptops, etc. They have three parts that include a backing paper, vinyl decal and transfer paper.
We have a step-by-step guide to educate you how easy it is to make your own DIY decals. Furthermore, you'll also learn how you can apply the decals to your car. So, keep reading.
Materials and Tools Needed
- Cutting machine(For example, Cricut Explore Air 2 or Cricut Maker)
- Cutting Mat
- Masking tape
- A Design
- Scraper Tool
- Adhesive Vinyl
- Transfer paper
- Tweezers
- X-Acto Knife
- Scissors
- A design
How to Make Car Decals Using a Cricut Machine
Step 1: Prepare your Design for cutting.
Using the Cricut Design Space, you'll want to create a design or insert an image then, re-size and improve the design before cutting it. Preparing your design will make the cutting process more straightforward and also help avoid mistakes or messing up.
You'll want to ensure that the fonts are easy to read-avoid using complicated fonts because they will only make it difficult for you to cut.
Step 2: Cutting your Design
Place your adhesive vinyl on the cutting mat with the colourful side facing up. Ensure you have the proper cutting setting for vinyl, load in the fine point blade and the mat in the Cricut machine, then cut.
Step 3: Weeding
Remove all the unwanted pieces of vinyl from your design. You can choose to start with the inside going out or the other way. It's that simple!
Step 4: Applying the Transfer Tape
For this step, you need to apply the transfer paper to your design. First, place a sheet of transfer tape over the design you just cut out. With the help of the scraper tool, ensure the design sticks well to the transfer tape. It is crucial to make sure the design is fully stuck to the transfer tape.
Now that you know how to make a vinyl car decal, it's now time to learn how to apply it safely.
Applying the Decal to Your Car
1. Clean the car window
You need to ensure the car is extra clean, if not, use soapy water and scrub, especially the area you're placing the decal. You can also use rubbing alcohol to clean the car window.
Once you're sure it is clean, use a microfiber cloth to dry it, and now you're ready to apply it to your car window.
2. Placing the Decal on Car windows
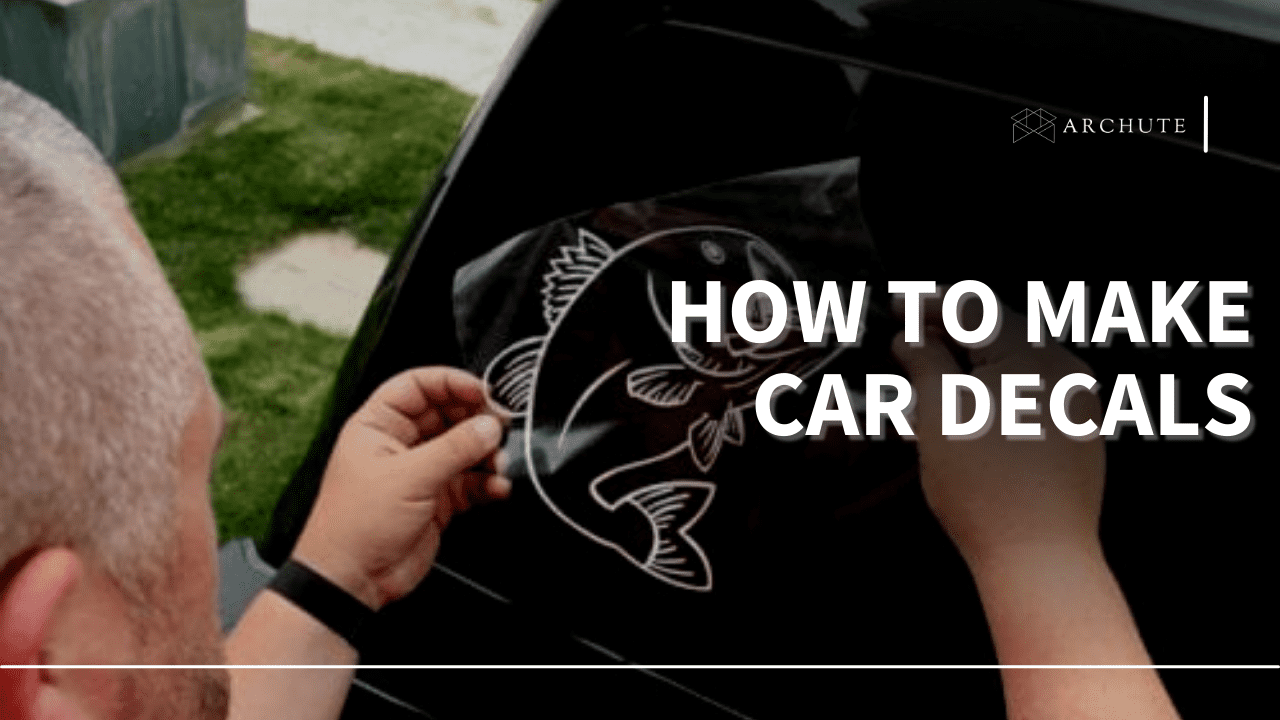
Place the vinyl car window decal exactly where you want it to be on your window and use masking tape to ensure it is in position. Next, remove the backing paper while slowly pressing it down from the top.
For a bigger decal, you'll need to start from one side, remove the masking tape, lift the backing paper and cut it off as you continue.
To ensure the DIY decal has applied evenly, use the scraper to ensure the transfer tape and the vinyl sticks well. If it doesn't stick, return the masking tape and press the decal in, then try again.
If you experience any air bubbles, you can either use a tiny pin to pop them, use a hairdryer to try to clear them out or wait for a few weeks for them to disappear.
Making a Car Window Decal by Hand
If you lack a cutting machine, you can also use your hand for this DIY project. There are two ways to make your own car decal by hand;
- Buying the decals or letters then combine the products to create a new design.
- If you're hoping to custom make them at home, find a design, print it out and trace.
For the second method, follow these steps;
- Tape a piece of adhesive vinyl to a cutting mat. Ensure the vinyl is larger than the design you want to create.
- Tape the printed image on the same mat.
- Using the X-Acto Knife, trace the outside of the image and cut through it.
- Cut the inner parts, depending on the design.
- Remove the excess vinyl using a weeding tool, for example, tweezers.
- Remove the tape also from the vinyl.
- Burnish the transfer tape over the vinyl.
Once you're done with making the sticker, follow the above steps to apply the window decal to your car.
Frequently Asked Questions on Car Decals
1. Can I put vinyl stickers on the car bumper?
No, car decals are only recommended to be used for windows. Avoid applying permanent vinyl sticker paper on the painted surfaces of your vehicle.
2. Can I put my vinyl decal on the inside of my car?
Yes, you can put the window decals on the inside. However, it is important to note that people may not see your decals if you have tinted windows.
3. Will the wiper or car wash ruin my vinyl decals?
The wipers may get dirt and debris on the decals causing them to peel or scratch. When this happens, you may need to replace the decals.
For the car wash, different people have had different experiences. However, for most people, the decals were not damaged and held up for an extended period of time.
4. What machine is used to make decals?
There are a lot of machines used to make decals, with the common ones being a Cricut Maker, Cricut Explore Air 2, Silhouette Cameo 3, etc.
5. Can I make my own decals?
Yes, you can easily make DIY vinyl decals at home using a few crafting tools. Once you have determined the designs, follow the tutorial above to create car stickers.
6. How do I remove the vinyl from my car?
To remove the vinyl from your window, you just need a little elbow grease and a flat plastic item to get under the edges.

