Do you have a quote that you like and would want to put on a sign for your home decor? A Cricut machine makes stenciling easy, and you can easily make a variety of custom designs for your walls at home whenever you feel like it.
You can make your stencil with your Cricut using different materials, including some items like transfer tape, vinyl, contact paper, or reusable mylar sheets. To create a stencil, you can make your design or upload a ready-made design to Cricut. The easiest way to get your DIY projects done depends on whether you can find the art you want readily or have to actualize your ideas.
How to Make Your Stencil in Cricut Design Space
The materials and products you need for your DIY project include a Cricut stencil vinyl, a fine point blade, a Cricut maker, weeding tools, access to Cricut Design Space, a standard grip machine mat, paint in your choice of color, and extra paper towels.
Below are steps you can follow as a tutorial to quickly make a stencil in Design Space.
Step 1. Choose a Design
The first step is deciding what you want to design in the Cricut Design Space and signing up to get access. The site is free to sign up to, and you get access to plenty of images and fonts, and so you don't have to come up with your designs.
Start by clicking on File, then select New, and this will take you to a new design grid. Click on Insert Images and type what you are looking for, e.g., a circle or heart, and this will bring up all the images of your focus. Highlight your favorite image and click on Insert Image.
When choosing designs, choose concrete shape designs because they don't have many standalone or broken lines.
2. Import your Chosen Designs
Once you are done with step one of choosing your stencil design, import the SVG files of design to your project. You can turn any SVG file into a stencil, and some sites provide free SVG cut files.
3. Set the Size
Once you have imported the design, estimate what pattern size you want to create and set the size accordingly in the design space. For multiple patterns of the same design, right-click them and hit weld. To change your font, click on Edit on the right menu, then select your preferred font.
4. Set the Position on the mat
Before you send the design to be cut by a Cricut cutting machine, ensure you move the design on the mat and leave at least 2 inches of space all around the design. Then load the mat into your Cricut Explore Air then hit the start button.
5. Apply the Stencil Vinyl
On the standard grip machine, apply the stencil vinyl on the surface, observing the white side is down and load it into the Cricut maker and run it to cut the stencil.
6. Remove excess
After the Cricut machine is done, remove any excess brand vinyl from your shape, whether it's a rectangular or a heart. Use your weeding tool to pull the vinyl from the letters but make sure you don't remove the vinyl from letters with centers such as e or o. Now the design is ready to be transferred to your project.
7. Apply Paint
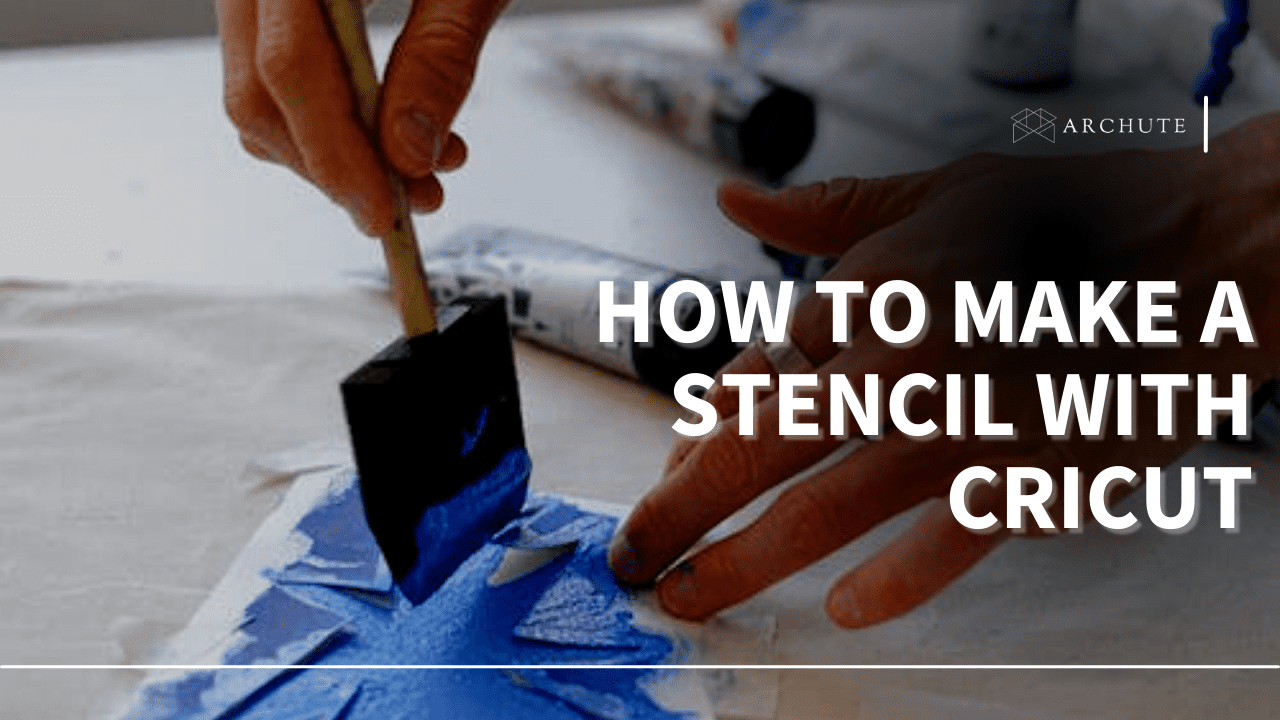
Remove the white backing from your stencil vinyl when you are ready to stencil and apply it to your home location, a card or a bottle, or the wall. Go ahead to add your preferred paint to it using a foam pouncer.
8. Peel the stencil off
Peel the stencil off while the paint is still wet and place it in a dummy location. You can use the reusable stencils to apply the stencil to another location, paint it, peel it and repeat this process again and again.
Best Material for your Cricut cutting machines
You can make stencils out of different materials, ranging from vinyl stencil to paper to plastic. You should choose a stencil material depending on what paint you will use, the design, and the blank material.
Best materials for cooking-related stencils
Some people prefer to stencil their cookies, and some people use Mylar Sheets. However, Mylar Sheets are not food-grade material, and thus not the best results will come out of the material for cooking-related stencils.
You can use Parchment Paper, Grafix Clear Sheets, or Wax paper. Grafix is better because it is a company that makes food-grade plastic sheets that are safe, while on the other hand, Mylar sheets are a branded plastic sheets.
Best materials for reusable stencil
A reusable stencil is better for anyone using nonpermanent media to create a DIY reusable stencil to avoid wasting any material. However, if your design has any floating elements, you will have to use a silkscreen. The ideal materials for this DIY would be laminating sheets, stencil roll film, and Mylar sheets.
Best Disposable materials to make stencils
Disposable materials to make stencils are mostly used when you want to make a stencil on a piece of fabric. This is because, for a fabric stencil, paint gets everywhere, and cleaning up is a challenging task. Additionally, the material is sticky, and thus, it is easy to work with floating elements in your design.
Some of the disposable materials include Transfer Paper, Contact paper, or Removable Vinyl.
Best Cricut Font for your Stencils
In Design Space, you can get many unique stencil fonts that don't have a floating element, which you need. For example:
- 3 Birds on Paradise
- Dinosaur Tracks
- Doodle Type
- Girly Stencil
- Don Juan
- Wednesday
Alternative Way to Make Reusable Stencils with a Cricut Explore Air
The Explore Air provides less functionality with stencils when compared to the Cricut maker but gets the job done. As with the Maker, you always need a mat with the largest mat measuring 12 by 24 inches which leaves your cutting size 11.5 inches by 23.5 inches. Additionally, you should add print to cut the stencil pattern for your wood signs with the Explore Series.
The Explore Air has a deep point blade that opens up room to cut more materials, but the Maker has a fine point blade with a rotary blade. Therefore, the Explore Air Series should be your DIY choice if you would like to use a deep point blade and the print then cut function.

