Stitching and gluing help put together a successful leather project or repair. Leather glue comes in handy when you need to bond leather parts on the go. When patching up parts, you need the best leather adhesive that will get the work done once and for all without you looking for more glue to keep embarrassment sealed.
The best leather glue that we reviewed is Aleene’s Leather & Suede glue because it is very effective on leather. Gorilla super glue came in second because it is one of the strongest adhesives in the market. However, it is only ideal for quick fixes. The third is Fiebing’s Leather Cement which is perfect for different leather projects and dries with a clear finish.
The 7 Best Types of Glues For Leather
Ordinary glue will not work on leather because leather is semi-porous and dense in texture. Thus, to create a permanent bond, you need to use glue that is specifically designed for leather. Let us take a look at some of the best leather glues in the market.
Rank | Product Image | Brand Name | Link |
|---|---|---|---|
1 |
| ||
2 |
| ||
3 |
| ||
4 |
| ||
5 |
| ||
6 |
| ||
7 |
|
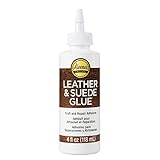
1. Aleene’s Leather & Suede Glue
- Product Type :Bonding Adhesives
- Package Dimensions :5.308 Cm L X6.502 Cm W X13.106 Cm H
- Country Of Origin :China
- Package Weight :0.34Lbs
I discovered Aleene's Leather & Suede Glue while making a fabric craft. I had just bought a denim jacket that I thought was too plain. I needed to spruce it up. So I got a few embellishments and carved out the image of a bull using leather which I wanted to be stuck on the back.

Image Source: aleenes.com
The glue was easy to use because it dried faster after I stuck the leather on the jacket. I thought I would have to wait for a longer period of time for the glue to set. This was not the case.
More importantly, the Aleenes Leather & Suede Glue did not stain the surface where I was working from. It did not soak through the leather either, leaving my jacket neat with no glue stains. Also, there was no discoloration on the denim jacket after applying the adhesive. Information on the pack states that the glue is a natural formulation, hence, non-toxic.
Pros:
Cons:
2. Gorilla Super Glue

- GEL FORMULA: No run control gel formula that is great for use on...
- ANTI CLOG CAP: Helps keep the glue from drying out. It's Gorilla...
- IMPACT TOUGH: Specially formulated for increased impact...
- FAST-SETTING: Dries in 10-45 seconds. No clamping required.
- VERSATILE: Bonds plastic, wood, metal, ceramic, rubber, leather,...
Gorilla Super Glue is said to be one of the strongest adhesives in the market. It was, therefore, my go-to glue when fixing the red nose that had come off of my clown leather mask. The glue was easy to use because I could control how it flowed. The pointer tip of the glue allows one to pour out the glue a little at a time.

Image Source: homedepot.com
It is also economical since a little goes a long way. I still have the glue that remained, and I can use it for other quick fixes that might come up in the future. I also had to bond the red nose to the leather fast because the glue dries up in seconds.
Moreover, Gorilla Super Glue is waterproof. When I cleaned the mask, the nose remained intact, and no water seeped into the part that I had repaired. The most interesting bit about the glue is that it has an anticlog cap that makes it reusable by ensuring the glue does not dry out. Nevertheless, you have to be careful that the glue does not stick to your hands. It does not come off easily.
Pros:
Cons:
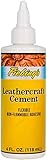
3. Fiebing’s Leathercraft Cement
- Fiebing's Leathercraft Cement is an easy to use, quick drying...
- Water-based contact adhesive can be used for a variety of crafts...
- Super high strength, permanent bonding with long lasting results.
- Safe, non-toxic and non-flammable formula. Dries clear.
- Manufactured by Fiebing's. 4 oz bottle.
Fiebing's Leathercraft Cement has always been my go-to for craft projects that involve leather. I bought the special glue when making a mouse pad using leather. Fiebing's is easy to work with because of its pointed tip. It was easy to regulate the amount of glue I poured on the leather pieces. Furthermore, the glue is fast action. When I applied it to the leather pieces, it dried in a matter of minutes.

Image Source: identityleathercraft.com
I am always looking forward to maintaining the aesthetics of my final products. Fiebing's helped to achieve this because it did not stain my leather pieces. The glue dried with a clear finish.
The packaging says that Feibing's is a water-based glue, but I have not had an opportunity to test that yet. Nonetheless, I can recommend it for fabric and craft projects.
Pros:
Cons:
4. E6000 Plus Adhesive
- Original Formula
- Neoprene Base
- Water Proof
- Superior Flexible Bond
An old leather bag had been in my closet for the longest time, but I didn't want to let it go. Its strap had come off and it had some wear and tear on the side that needed to be fixed. I went shopping online for a leather adhesive that would be perfect for the project. After reading a few reviews online, I settled on the E6000 Plus which is known for its strength and versatility.

Image Source: youtube.com
I used the E6000 Plus to bond together leather pieces on the parts where the bag had wear and tear. The glue left the leather surfaces flexible. There was no crusting that is experienced with some glues.
The E6000 Plus dries clear. It is transparent, and one cannot tell that glue was used. It did not stain my leather bag. Also, it is easy to clear when it gets on your hands. You can rub it off and continue with your project. I was also surprised to see that rhinestones and other forms of embellishments stick quite well. The glue creates a permanent bond, and they do not come off. What is more, the glue is waterproof. The bond has not come off even after washing the bag severally.
Another great advantage of the E6000 Plus is the cap. The glue has a puncture seal at the neck which is broken using a pointer cap. The cap fits well against the hole which makes it impossible for the glue to stick into the tube or dry out.
Pros:
Cons:
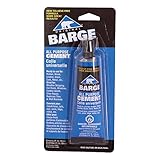
5. Barge All-Purpose Cement
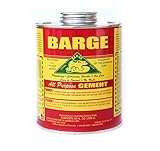
- Barge All Purpose Cement is a professional strength glue...
- Ideal for patching rubber boots, resole leather shoes, boots,...
- ONE QUART, 32 oz. can comes with an applicator brush attached to...
Contact cement is one of the best glues for leather because of its adhesive nature. The Barge All-Purpose Cement came in handy when I was making a leather tassel key ring. I needed a good leather adhesive that would create a permanent bond.

Image Source: pathfinderwv.com
The glue acts fast and bonds in a matter of seconds. I would, therefore, recommend it for quick projects. More importantly, I found Barge All-Purpose Cement easy to work with as it spreads effortlessly on the surface. Because of its adhesive nature, it takes longer to dry. Once I put glued the tassels to a leather piece, I left them to cure for 24 hours. This is the recommendation given on the glue pack.
I noticed that Barge All-Purpose cement glue leaves a bit of color on the material. Thus, I would not advise anyone to use it in bright leather colors.
Pros:
Cons:
6. Loctite Liquid Professional Super Glue
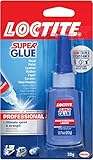
- Professional-strength ingredients work fast and hold strong
- Fast-setting formula resists moisture, most chemicals and cold...
- Pinpoint nozzle allows precise application without dripping or...
- Screw-on cap cleans and seals nozzle for clog-free use
- Loctite Super Glue Professional's super strength formula is ideal...
I went to visit a friend, and I found her looking for a way to fix her leather couch. The seat had been torn accidentally by her niece while she was playing with a pair of scissors. I offered to take her glue shopping, and that's how we landed on the Loctite Liquite Professional Super Glue.

Image Source: rahoerr.com
This superglue was easy to work with because of its tip. Once we took the cap off, we pointed the glue to the part that needed repair and gently pressed it to allow the glue to come out. What is more, the glue dried up so fast. The couch was patched up faster than we thought. Thus, this feature makes the Loctite Liquid Professional Super Glue ideal for fast jobs. However, we noted that the glue left a bit of a shine after drying up. One can tell that the leather seat was repaired using glue which is not what we were going for.
Pros:
Cons:
7. Hirschkleber Leathercrafts Glue
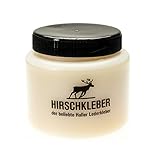
- Unique craft leather glue
- Suitable for bonding leather, felt, cardboard, paper, textiles,...
- Perfect for fixing the inner leather lining to the shoes upper
- Does not seal pores in leather so it always remains breathable
One of my shoe straps came off as I was rushing to class. My first thought was to go into a hardware store and ask for an adhesive that would help to repair it. The salesperson suggested I try the Hirschkleber Leathercrafts Glue because it is a special glue for shoes.

Image Source: amazon.de
I also bought a small acid-type brush to help with the application process. The glue is easy to apply, and it dries quickly. However, I left the shoe outside for a few hours for the bond to form. Hirschkleber Leathercrafts Glue is not waterproof because it is organic and water-based.
Pros:
Cons:
Factors to consider when choosing the Best Glue for Leather
Image Source: cutcutecrafts.com
Since the market is flooded with numerous types of leather glue, you have to choose one that applies to your particular needs. Here is a list of things to keep in mind while choosing leather glue.
1. Type of leather glue
There are different types of glues that are appropriate for leather projects and repairs. They include:
Superglue – superglues are fast-bonding, instant adhesives specifically formulated to bond with any material. Superglues are recommended for quick leather repairs.
Leather glue – these are glues specifically formulated for products and goods made from leather. They are easy to apply, and they bond leather pieces very quickly.
All cement glue – these glues are made to bond porous concrete material to other surfaces. They create a tough bond which makes them effective even on leather. These glue types are recommended for large leather projects.
2. Application method
Applying glue is not a complicated task. However, it is important for one to be prepared by reading instructions on the glue pack and getting the right tools (if any are required) to ensure good results.
3. Drying time
Leather glues dry at their own speed. However, the drying speed can be influenced by the type of leather glue chosen. If you have a quick-and-go project, you should consider using superglue since it dries in a matter of seconds. Regular leather glues dry slower and can take up to a day for the bond to completely set. All cement glues, on the other hand, also dry quickly after application. Once the surfaces are bound together, a bond forms instantly.
4. Waterproof versus water resistant
When working with leather, you will note that there are those suited for wet conditions. For this reason, you should select a glue that is appropriate for the leather project or repair. Waterproof glue will not allow water to permeate it, no matter how much time a leather item spends in the water. Thus, the bond created lasts longer. Water-resistant leather glues may allow water to penetrate them to a certain degree. Most leather glues are water resistant, while all cement leather glues and superglues are waterproof.
How Do You Glue Leather To Leather?
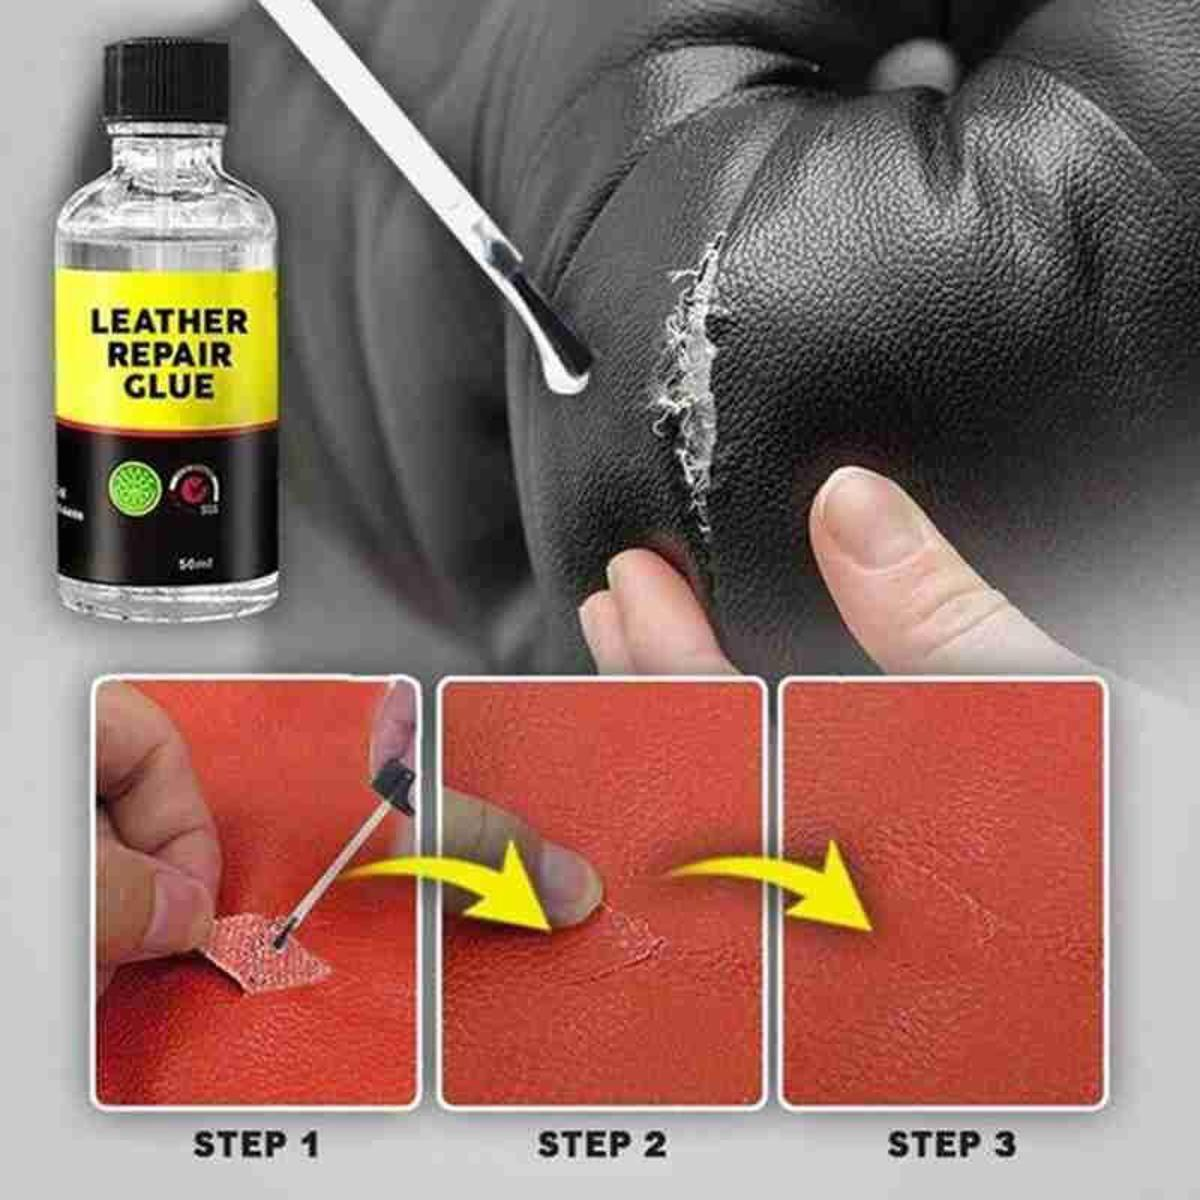
Image Source: daraz.pk
Most times, we do not get rid of a leather product because a part is loose or needs repair. Leather repair no longer has to be done by a professional; you can do a quick repair from the comfort of your home or on the roadside.
Pieces of Leather can glue together if the process is done correctly and the right tools are used. Follow the following steps to get your leather back to its functional state.
Step 1: Prep The Work Surface
A flat surface is the best surface to work on since glue is fluid and flows due to gravity. Place a piece of paper on the surface before applying the adhesive to catch any extra glue that might spill over.
Use a surface that has 360-degree access because that makes working with leather easy and fast. In addition, the surface should be large to accommodate the tools for the project without piling things with glue on top of each other.
Step 2: Get the Tools
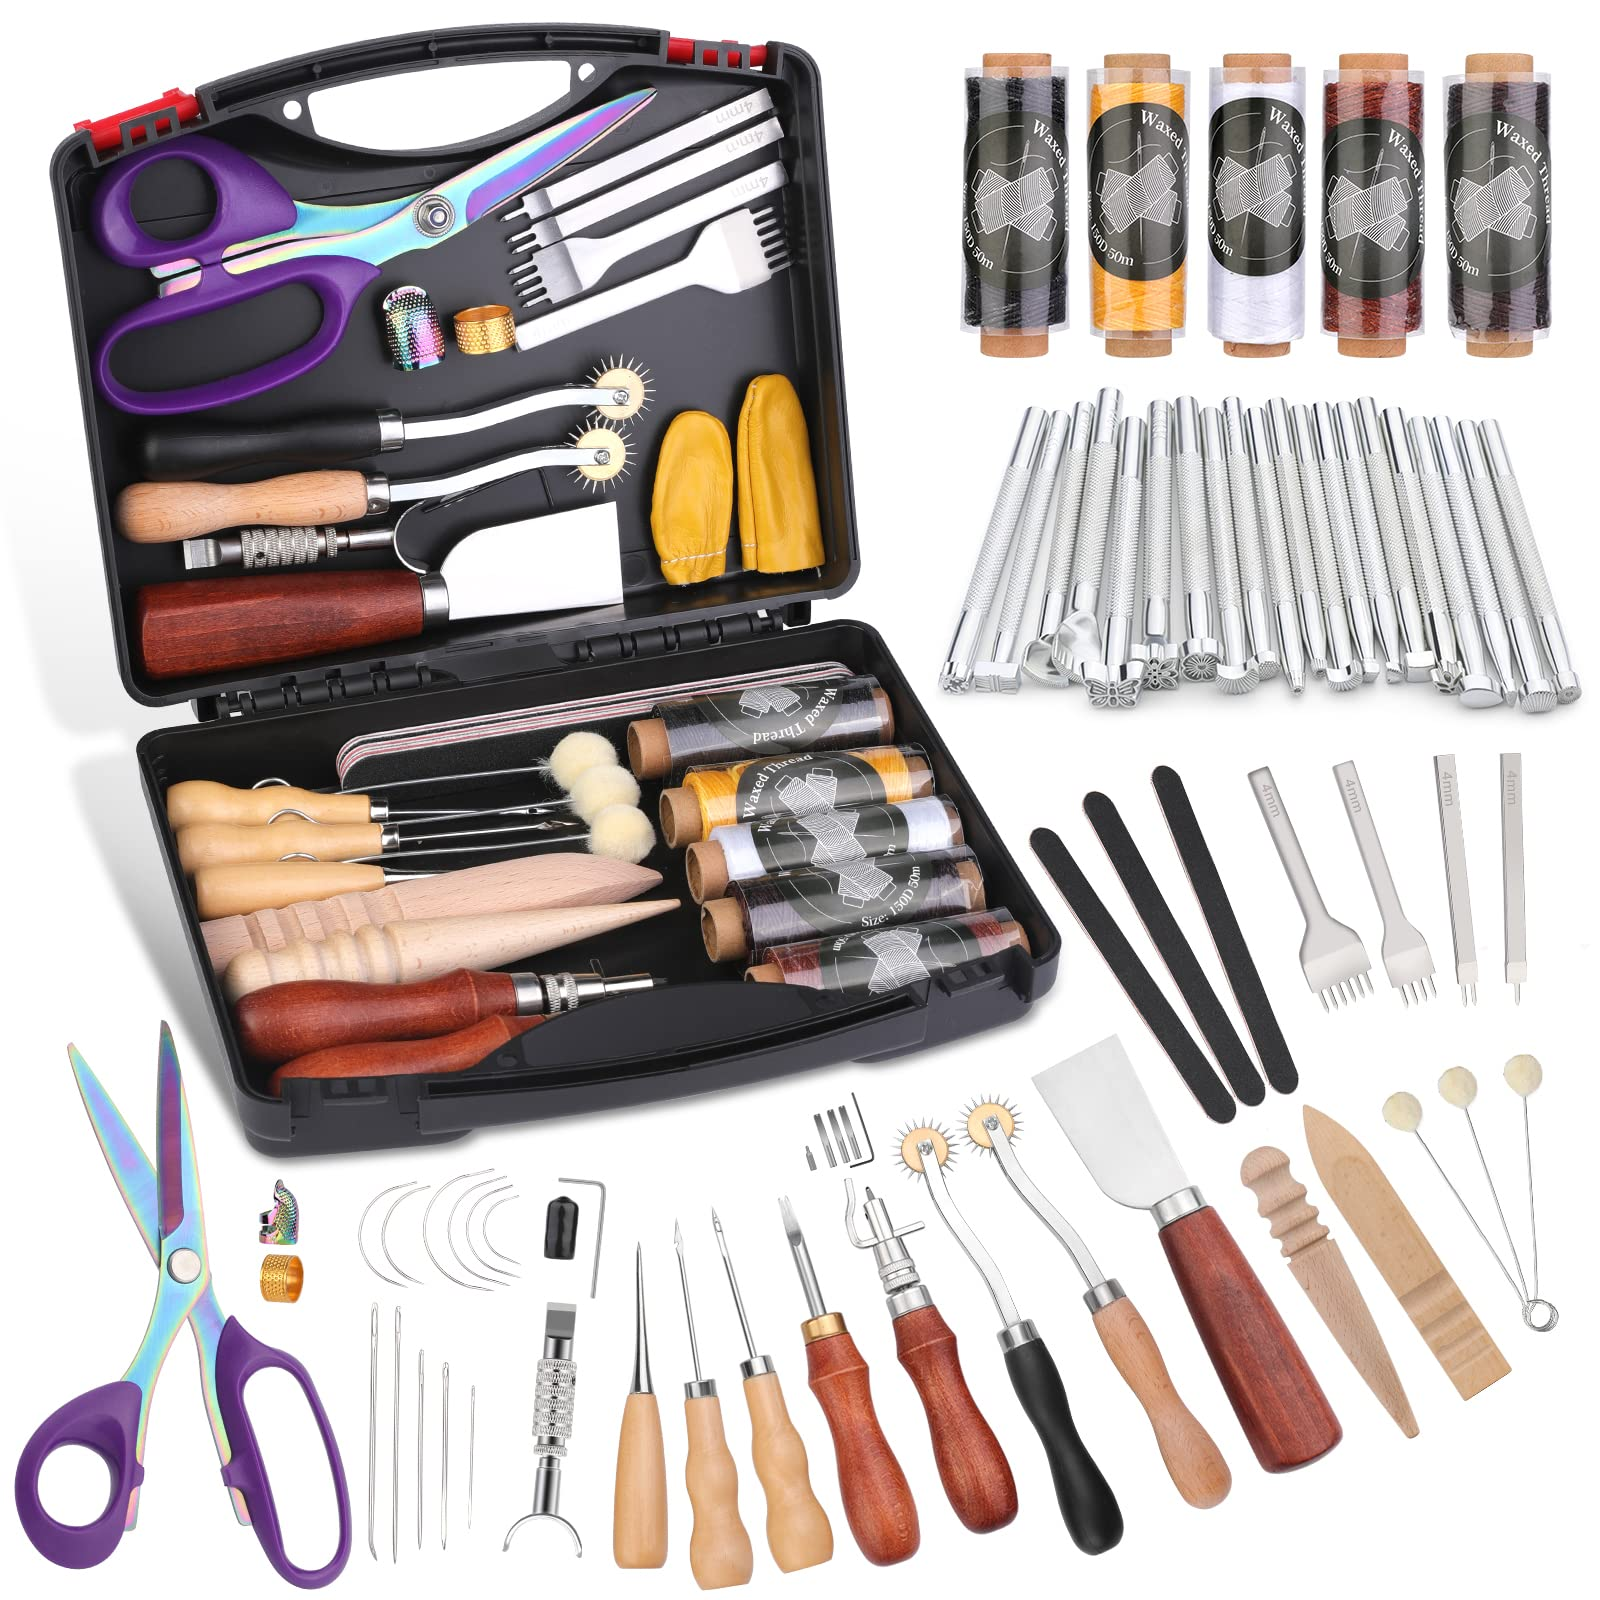
Image Source: amazon.com
It would help if you used the correct tools to get the job done accurately. It would help if you had the following tools:
I) Adhesive Spreaders

Image Source: alibaba.com
Spreaders are used to straighten out the glue on the surface for consistent results evenly. Spreading prevents the formation of pockets that reduce the effectiveness of the glue. A thick layer of glue reduces the transparency and makes the glue on the surface noticeable from afar. The spreaders are mostly made of plastic.
Plastic is ideal because it can be washed and reused for other projects. In addition, spreaders can handle a large amount of glue and spread over a large area in one go without having to risk some parts drying up before other parts.
Ii) Adhesive
There are different types of adhesives for Leather to choose from. In your best interest, go for the best glue for leather that has been tried and tested. Some glues are permanent, while others are temporary.
Glue reacts with the material put on it to create a strong bond. Some types of glue will expand once they start solidifying. That kind of glue should not be used on wearables like shoes because they might lead to discomfort. In addition, the glue that solidifies into a hard substance tends to be less flexible because of the hardening that takes place with time.
Iii) Glue Pot
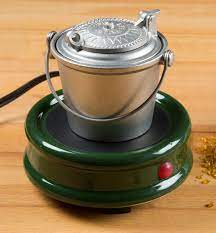
Image Source: leevalley.com
Leather glue, just like other forms of glue, hardens when exposed to the atmosphere. Therefore, having an open container all through will make the adhesive less effective over time. The glue pot will keep the glue away from the air and keep it in a conducive state as it is in the bottle.
The glue pot helps dispense the glue carefully to avoid messing around when repairing. Glue pots are airtight, and the glue will remain fresh and fluid. A glue pot has an opening that can be accessed when you want to use the glue. The pot is easy to open and close for efficiency.
Iv) Leather Rougher
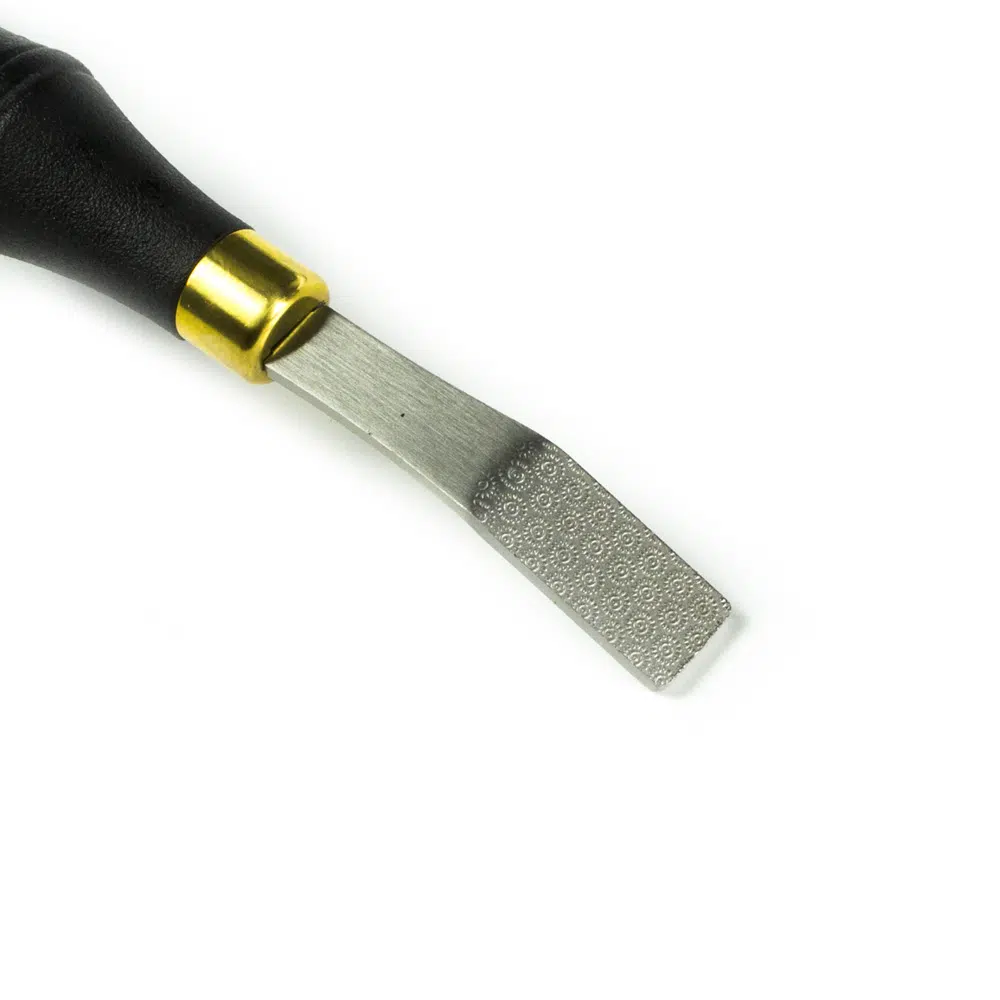
Image Source: craft-point.com
A hand leather rougher is one of the most important tools to use when gluing Leather. Glue does better on rough surfaces compared to smooth surfaces. This is because a rough surface has more surface area for the glue to adhere to than a smooth surface.
Use the Leather rougher to scratch on the surface of the Leather that the glue will go to. You can use sandpaper if you do not have a rougher near you. Pick a large grain of sandpaper to get the roughest outcome. Do not forget to rough both surfaces that will glue together.
V) Clamp
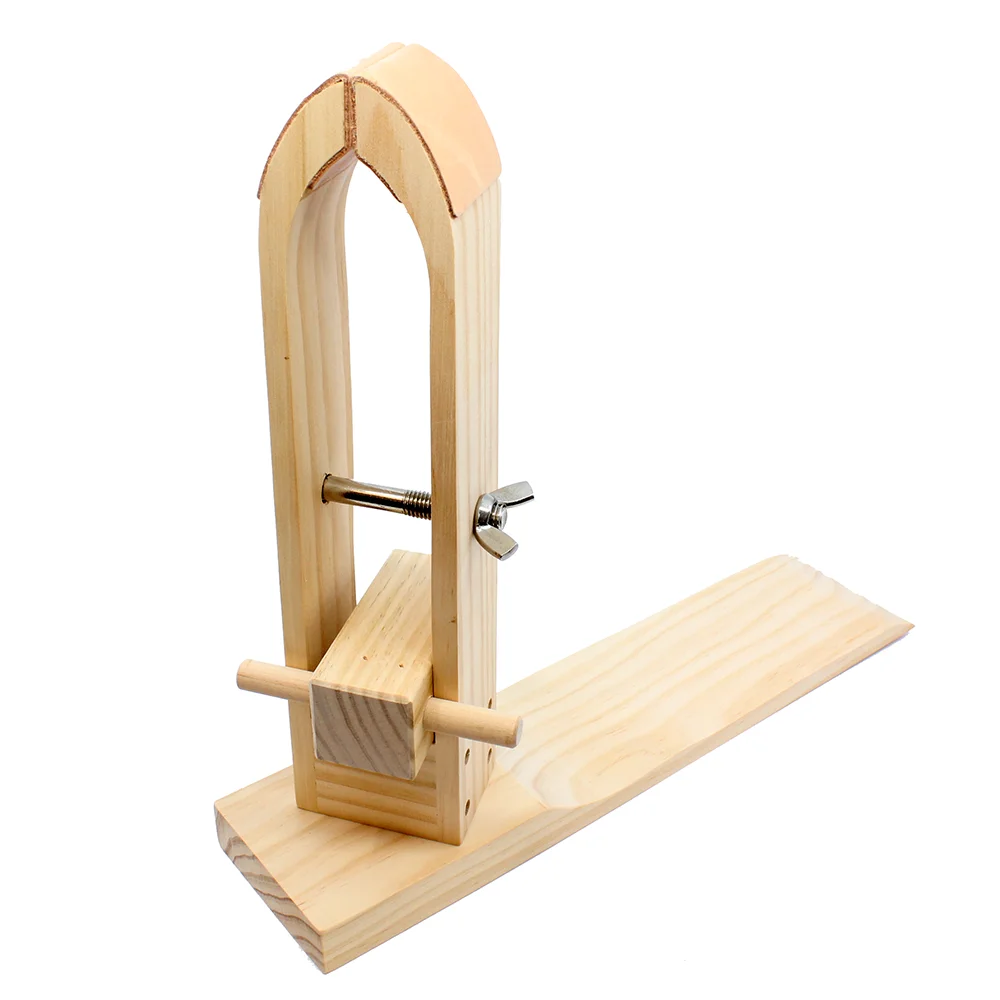
Image Source: leatherhouse.eu
Once you glue the pieces together, you want to press on them for a few seconds for the glue to take effect. It is ideal for letting the leather glue set for about 24 hours. However, you can not stand there for a whole day and night holding on to the Leather for the glue to set. Therefore, a clamp will come in handy when working on a repair to hold the Leather together to prevent any loose connections.
Look for a clamp with leather edges to avoid clamp marks once you are done working on a piece. Some clamps have metallic edges that leave marks that might be unpleasant.
Vi) Weights
Leather weights help to hold the leather in place when working on a repair. You do not want the glue to stain a surface that is not meant to have glue on it. When gluing or cutting leather, it can shift ever so often, leading to accidental leather marks. Leather is very expensive, and leather product buyers are always keen to check for flaws. Flawed Leather reduces the quality of the product.
Ensure the weights have smooth surfaces.
V) Roller
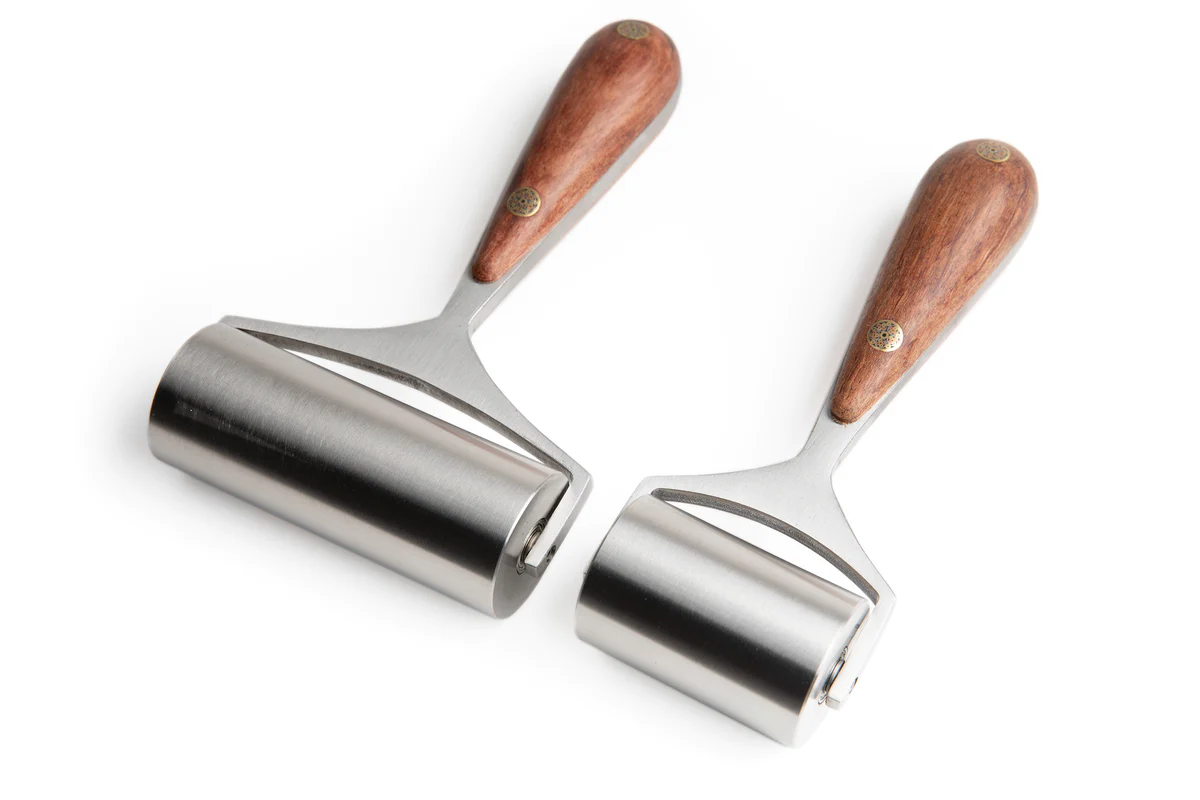
Image Source: rmleathersupply.com
Leather rollers are used to smooth out the surface with glue underneath it. In addition, the rollers remove any air gaps and pockets that might lead to an uneven surface.
Step 3: Prep The Leather
Use the metallic brush to roughen the surface for the glue to adhere better to the leather surface.
Step 4: Apply The Glue
Use the spreader to apply the glue on the surface of the Leather. Some glues need thinning first. Ensure the glue has the correct consistency before applying it.
Step 5: Dry
Let the glue dry by pressing the leather together for the amount of time stated in the instructions. Then, use weights or a clamp to hold the Leather together. Once you are done, set the Leather to dry in a cool, dry place for about a day before using the product.
Frequently Asked Questions about Leather Glues
1. What is the best glue to use on leather?
The best glue to use on leather is Aleene’s Leather & Suede Glue. The glue is fast action since the healing on leather repairs occurs immediately after application. Moreover, it is clear drying and does not leave marks or stains on the leather or surfaces. Also, it doe not soak through the leather, thus, leaving it as is.
2. How do you permanently glue leather?
Leather can be glued permanently by using glue that can create a long-lasting bond. Use waterproof, flexible, and clean-drying glue to ensure that your leather pieces remain in the best shape.
3. Is Gorilla Glue Good for Leather?
Yes. Gorilla glue is good for leather since it is a tough and strong glue. It has rubber particles that form strong bonds and increase resistance to impact. It is also good for small and quick repairs as it dries faster.
4. Can you use any glue on leather?
No. You cannot use any glue on leather because leather bends and flexes easily. Therefore, it requires a glue that is flexible so that it maintains a durable bond. Glues such as white glue or wood glue are not ideal for leather. They can cause damage. It is advisable to use glue that is specialized for leather on leather.
5. How long does leather glue take to set?
Leather glue sticks quickly, but it takes 1 to 3 hours for a bond to form. However, the pieces have to be left alone for 24 hours for full adhesion. Additionally, the time taken for full bond strength to be achieved depends on temperature, the thickness of application, and humidity. More time is required for larger projects.
6. Is wood glue an effective leather adhesive?
No. Wood glue is not a good leather bonding agent because it does not adhere well to leather. Nevertheless, when bonding wood and leather, an all-cement glue is recommended. All cement glues help to bond porous material to other surfaces effectively.
7. Can you use contact cement on leather?
Yes. Contact cement that is specially formulated for use on leather can be used. They are very effective for use on leather because it is porous. Moreover, the contact cement is flexible and water resistant which ensures that the bond on the leather remains permanent.