Electric power recliners are comfortable and easy to use but like any electrical gadgets there are some components that may have a tendency to fail or breakdown. One of the most common problems is a defect in the power switch. So if you are presenting such a problem, don’t worry! In this detailed instructional, you will learn how to replace a power switch of an electric power recliner chair along with a wiring diagram for an electric recliner chair.
Safety must be the number one priority when dealing with electrical parts, but if you follow these instructions, you will be able to replace the power switch and fix the problem with your favorite recliner. Before going further, let me explain what a power recliner switch is and how it operates.
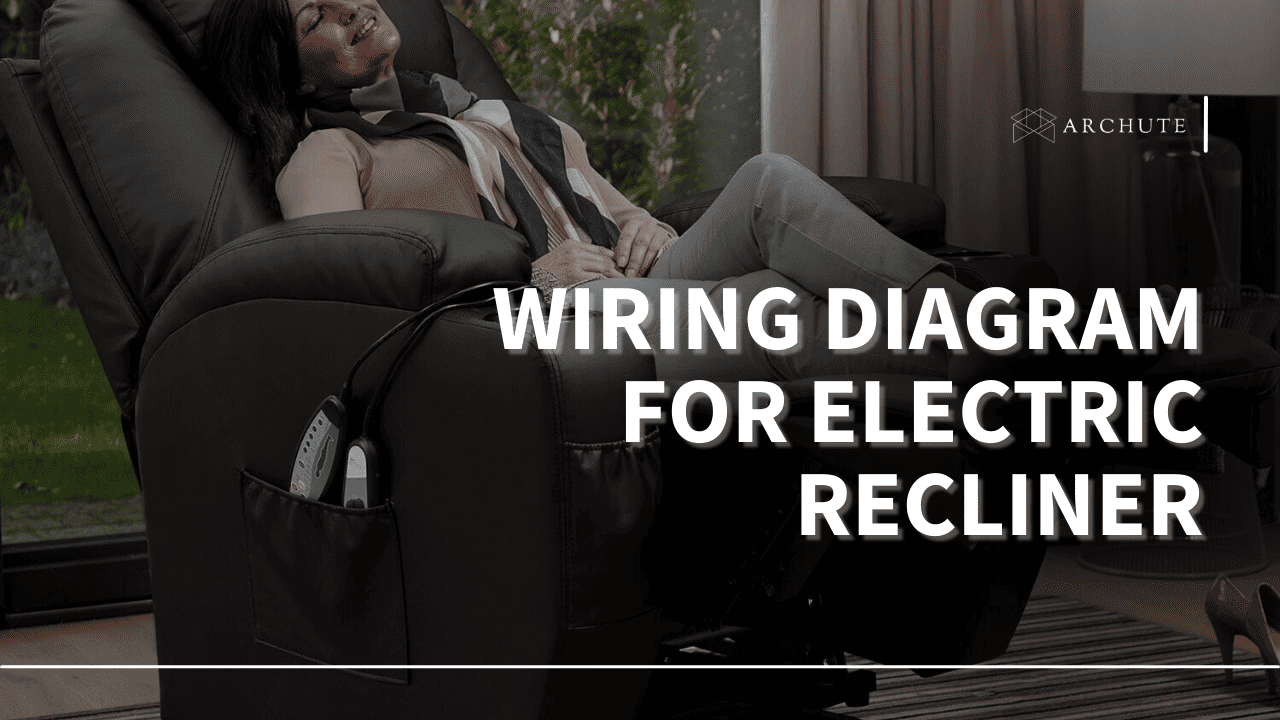
Understanding The Wiring Diagram For Electric Recliner

Image Source: reclineradvice.com
1. Identify The Components
Start by labeling every segment of the wiring diagram. When trying to interpret the symbols in the diagram, the consumer should consider looking at the manufacturer’s instructions or the recliner’s user manual to understand the symbols being used.
2. Power Supply
Look at the wiring diagram and find the position of the power supply line. It depicts the association between the electrical outlet and the transformer. Check that the grounding of the power supply line is correct and ensure all connections are proper.
3. Transformer Connections
On the wiring diagram you will identify the connection between the transformer, control switch and the motor. Simply read along the lines drawn and try to work out the order of connections. Look for any special tags in terms of polarity or the use of color-coded wires.
4. Control Switch Connections
Determine the wires from the control switch and identify their connection points. The wiring diagram will show how the control switch is connected to the transformer and the motor.
5. Motor Connections
Consult the wiring diagram to identify where the motor is connected. It will depict the wires extending from the motor and their connection to the control switch as well as transformer. Make certain that the connections are properly connected and correspond to the diagram.
6. Safety Features
There are usually extra safety measures like thermal overload protection or emergency stop buttons in the electric recliners. These safety measures help guard against overheating or stopping motion in case of an emergency. It is also important to acquaint yourself with these features on the wiring diagram in order to comprehend their interactions and uses.
Power Recliner Switch Wiring Diagram
1. What Is A Power Recliner Switch?
A power recliner switch is usually an apparatus found on power recliner chairs. It enables the user to make changes to the chair’s dimensions as well as its operations like tilting the backrest or elevating the footrest. It offers comfort and flexibility with the ergonomic features of an electric recliner reset button.
2. Detailed Wiring Diagram For The Power Recliner Switch

Image Credits: technicallibrary.midmark.com
How To Fix Power Recliner Switch Issues
1. Gather The Necessary Tools
Here’s a list of tools typically required in the power recliner switch repair process:
- Screwdriver (flathead or Phillips, depending on your recliner’s screws)
- Wire cutters or wire strippers
- Electrical tape
- Replacement power switch (ensure it matches the specifications of your recliner)
With these tools ready, you’ll be prepared to tackle the task without interruptions.
2. Precautions And Safety Measures

Image Credits: reclinerbitz.com
Handling electrical components has its own hazards hence it should always be done with caution all through the process. Before commencing any work, take the following precautions:
- Unplug the recliner: Start by unplugging the recliner from the power outlet. It is a safety measure that protects you from electrical mishaps that may occur during the replacement process.
- Avoid moisture and water sources: Do not expose the recliner to water or even use it when it is wet to avoid any electrical shocks or damages to the recliner.
- Read the user manual: Refer to the manufacturers’ manual for possible guidance or restriction concerning the replacement of the power switch of the recliner. It may also contain diagrams or other information in the manual.
The implementation of these safety measures makes it secure and helps in eradicating hazardous incidents.
3. Locating The Power Switch

Image Credits: sofarehab.com
Find where the power switch of the electric power recliner is to start the replacement process. This switch is usually found either on the side of the recliner or beneath the cushioned seat. Follow these steps:
- Consult the user manual: It is recommended to consult the user manual in order to know the exact position of the power switch. If you have lost the manual, then move to the next step.
- Visual inspection: It is advisable to inspect the recliner and give particular attention to the sides and under the seat. Search for any boxes or lids that can be opened and could contain the power switch. Some recliners feature extension panels that are screwed in place.
When you have found the power switch, it is time for replacement.
4. Removing The Old Power Switch

Image Credits: bedbathandbeyond.ca
The next step having identified the position of the power switch is to replace the old switch. Follow these steps:
- Power switch panel removal: Start by unscrewing any screws or any other fasteners that may be holding the switch panel in place using the right screwdriver. Ensure the screws are not misplaced since they may be needed in the subsequent stages.
- Wire disconnection: When the switch panel is dismantled, you are left with a group of wires connected to the power switch. Notice the wire connections or if possible, document the wire connections so you can refer to it later. You may have to use the wire cutters or the wire strippers to remove the wires from the switch that you want to replace. Be careful at this stage not to compromise the wires in the process.
- Inspecting the wires: When the wires are disconnected, one can take some time to assess the wires and make sure that they are in the correct condition. Check electrical wires for any signs of wear, damage, or loose connections. In case you find any challenges, it is advisable to sort them out or consider consulting a professional.
When these steps are followed closely, you will be removing the old power switch and readying the recliner for replacing it with a new one.
5. Installing The Replacement Power Switch

Image Credits: youtube.com
With the old power switch having been dismantled, comes the process of introducing the new power switch. Follow these steps:
- Configuring the replacement switch: Before making the connection to the wires, make sure that the new power switch for the recliner is appropriate. Check whether the terminals and wiring connection correspond to the electrical system of the recliner. Check the user manual or any other instructions that are provided by the manufacturer of the device.
- Connecting the wires: Solder them to their corresponding terminals on the new power switch. Your notes or photographs should be helpful in making the right connections. The next step is to connect the wires to match their color and position to the terminals in the replacement switch.
- Securing the new switch: Once the wires are properly connected, try to reinsert the new power switch back to the panel gently. Make sure it is snug and is in the correct position to blend well with the recliner exterior. Screw back the switch panel using the screws you have just removed in the previous step. Screw the bolts down as far as you can but do not overdo it for it could harm the panel or the body of the recliner.
6. Testing The Recliner And Finalizing The Replacement
Image Credits: furniturefair.net
To do this, a new power switch was installed and now the recliner can be tested to see if everything is functioning as it should. Follow these steps:
- Plug in the recliner: Gently plug the recliner back into the power outlet to make sure that it fits correctly.
- Test the power switch: Turn the power switch in different positions to establish the ways the recliner will respond. If the movement is possible, test both reclining and footrest options. Please note any sounds, problems, or abnormality that may be detected during this test. You will have an easy time using the best remote control recliners.
- Inspect the wiring and connections: While testing, look at the wiring and connection to see if it is loose somewhere or behaving peculiar. Make sure that all the wires are neatly placed and fixed properly in their respective places.
- Finalize the replacement: If everything has gone well and no problems occurred during the testing of the recliner, then well done! That means you have successfully replaced the power switch. Disconnect the recliner from the electrical socket once more in a safe manner before continuing.
Conclusion
By following this guide, one can easily replace a power switch that is not functioning or when doing upholstery on a recliner. Always focus on safety, you should follow the guidelines mentioned in the user manual and take necessary precautions while handling electrical parts. However, if you encounter any problem or you are not sure when doing the electrical wiring, it’s always advisable to consult a professional or the manufacturer.