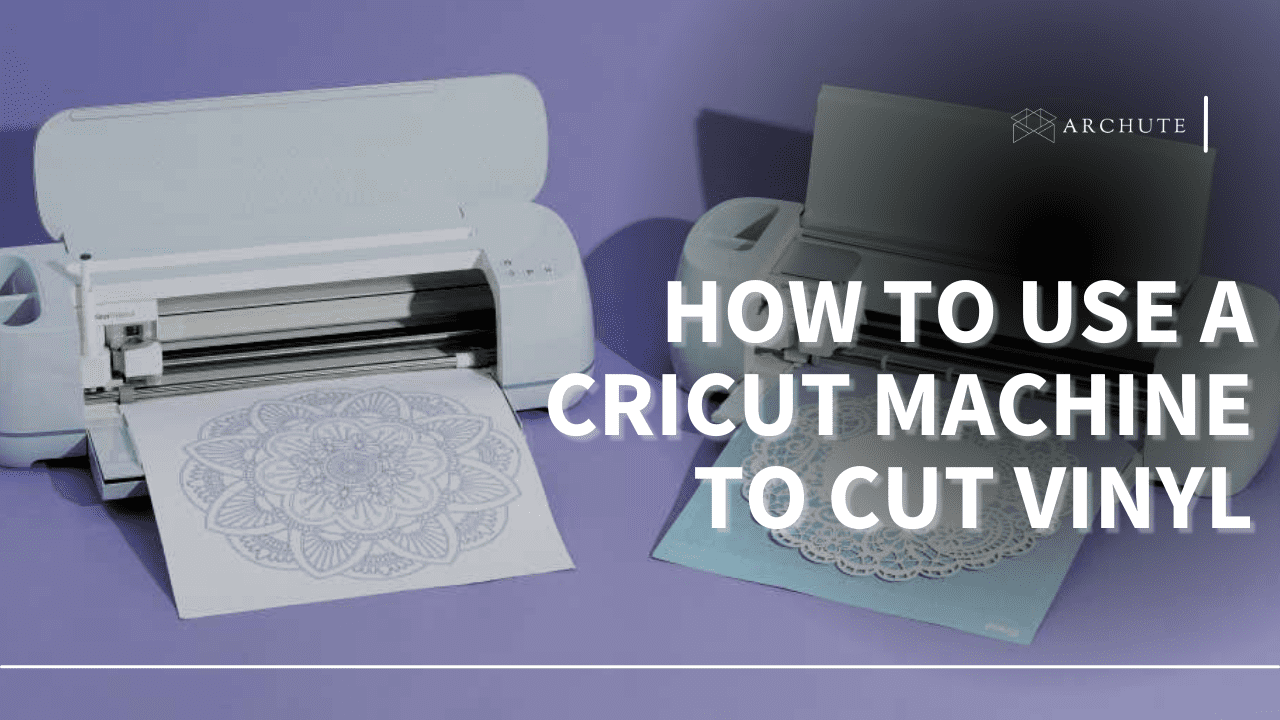
Wondering how to use a Cricut cutting machine for cutting vinyl? You don't have to worry anymore because, in this post, you will find the ultimate guide to using a Cricut cutting machine to cut vinyl.
A Cricut machine is an awesome tool that can help you create specialized designs. It is able to cut different types of materials, including paper, vinyl, iron, fabric, cardstock, and create craft projects from graphic mugs to customized T-shirts.
However, to get the most out of your Cricut machine, you need to understand how to use it properly. While some materials like vinyl can be cut by hand, Cricut machines give cleaner cuts and produce different designs. These machines have a pen, rotary cutter, scoring tool, and a tiny blade.
To get started with a Cricut cut machine, you'll need to connect it to your computer wirelessly, and you can easily create or download designs that are sent to the Cricut to be cut out. For designing your projects, you'll need a special software from Cricut called Design Space.
This whole process might sound difficult, especially for beginners or the first project, but it's not. To make the process easier for you, we have simple steps to help you learn how to use it.
How To Use Cricut Machines
1. Setting Up your Cricut
Ensure you have all the tools and accessories you need to use for your craft project, including a Cricut machine and a cutting mat. For cutting vinyl, you also need to have adhesive vinyl.
Cricut Explores might look slightly different; for example, Cricut Explore Air 2 might be different from Cricut Explore Air, but the operations will be the same for both cutting machines.
First, find a location in your craft room that is closer to an outlet such that you can easily plug the new Cricut in. Ensure you create enough space at the back and front of the front and back of it such that the mats can pass through your Cricut when cutting.
These mats are mostly about 12 inches to 24 inches, therefore, depending on the mat you have, you may need a need 10-20 inches of space at the backside of your Cricut. The machines will also come with two cords. One cord is the USB cord, and the other is the power cord.
The USB cord has a USB end and a square end which you use to connect your computer to the Cricut. However, if you want to use Bluetooth to Cricut access, then this cord might not be necessary. Plug the square end in the Cricut and the USB to your computer. The power cord has a circle end that you plug on the Cricut, and the other end should be plugged in your outlet.
Now that your setup is ready let's use the Design Space to create a new project.
2. Open an Older Project or Create a New DIY project.
Download(Free) and open the Design space program. With this program, you can upload or create projects, modify them, and later send the project to your Cricut for cutting.
Thanks to the easy-to-use Cricut design space program that is also cloud-based. This means you can access your projects from any internet-connected device. For this stage, use Design space to create a new DIY project or open an older one.
3. Getting Your Project Ready Using Cricut Design Space
If you already have an image or an already designed project, it is most likely that it is ready for cutting. You don't have to take the steps below as you can already send the files to the machine.
If you're just starting, you may need to prepare the project. Most users tend to upload SVG or JPEG files and make adjustments relating to the color, layers, and groups of the image to get a precise cut.
Once the image is ready, click on the "Make It" button on the top right corner. If the image is ready to be cut, then you'll see it is spaced out and aligned properly in the appropriate colors and layers. At this point, you're now ready to send the image to the Cricut.
Sometimes, the image may appear not to be precise because you have correctly distinguished the shapes by colors, but the spacing is a bit off. To correct this, you need to ensure you make proper adjustments by ensuring the different shapes in your image are fixed.
To do this, select every shape of your image with the same color and then click on "Attach." You can repeat this with the other colors in your project. This will make sure the shapes move together when the image is moved or resized and also makes sure the layers are in the correct position when cutting.
4. Sending the Project to the Cricut Maker for Cutting
Once you press on the "Make It" button, the project will be divided into different mats that allow you to cut multicolored or multilayered projects. Next, you need to set the number of copies you want for the images and how large you would like them to be.
Once you're satisfied with the press the "Continue" button, then follow the instructions that will pop up on the screen. Before using the Cricut, ensure that the machine is connected and the smart dial is set to vinyl.
To use the Cricut for cutting the project, start by taking the vinyl and place it on your mat, then load them in the Cricut maker. Press the "Load/Unload" button that is flashing to ensure it is loaded correctly.
Once the load is correct, easy press "Go," and the machine is going to cut files. You'll be able to monitor the cutting on your screen and once it finishes, press the "Load/Unload" to remove the mat.
If your project had only one color, you are done, but if it had more colors, then place another sheet of vinyl on the mat and repeat the steps. Once you're done, unload the cutting mat and click on "Finish."
What can you do with a Cricut machine?
A Cricut can be used to cut many things and materials like paper, cardstock, and vinyl. However, other Cricut machines can also cut leather, thin wood fabric, etc. You'll just need to get one that matches all your needs.
Do you need a computer to use a Cricut?
Yes, however, the Design Space software can be used with devices that can connect to the internet, including a computer, tablet, an iPad, or any other iOS device or Android device.
What are the best Cricut machines?
The top Cricut machines include;
- Cricut Maker- For small businesses and advanced crafters
- Cricut Explore Air 2-The most popular
- Cricut Joy- A small but powerful Cricut
- Cricut Cuttlebug- A manual die cutting machine
- Cricut Expression 2- Great for those who love Cricut cartridges

