Brenda Nyawara is an editor at Archute. She is a graduate architect with a passion for edge-cutting ideas in design, fashion, art and modern world interests.
Get Smarter On Architecture and Design
Get the 3-minute weekly newsletter keeping 5K+ designers in the loop.
Enter your Email to Sign up
The short answer to this is yes. The slightly longer version tells us that a lot of types of wood flooring come in click-in-place designs that allow for very simple installation. You can handle it yourself with some basic tools and some know-how.
Solid wood flooring takes a little more preparation and slight variations in the technique, but ultimately, it’s the same process. “Click in place” tells you all you need to know. You can get click vinyl flooring, click laminate flooring, click engineered flooring, and click solid wood flooring, so no matter the style, the type, or the temperament of the wood, you will be able to get the home you want with your own hands.
Read on to see our guide on how to do it right.
Deciding on a wooden floor for your house is not a small feat since it acts as a determinant of the price of the house in the future. Nevertheless, the situation is that despite the fact it can be easily installed it depends on some certain factors though it is rather easy to install. Here are some factors that affect the ease of installation:
Type of wood flooring: The easy or difficulty of installation is still the issue of the type of wood flooring that is being laid. For instance, prefinished wood flooring can be more preferable due to the fact that their installation does not entail sanding and finishing at the site. However, there are some types of accessories for which unfinished wood flooring might not be the most appropriate option: firstly, due to some extra prep steps that include sanding and finishing which are additional to the main final touches.
Subfloor condition: Condition of the subfloor also impacts on installation since some subfloors may require extra efforts to install. Some potential problems of subflooring include; The hardness of the subfloor: if subflooring is hard it creates challenges of installment When moisture is present in the subfloor it leads to uneven surface. Hardwood flooring cannot be installed directly on a subfloor that is not in good condition; hence, the subfloor may require repair or replacement initially.
Installer experience: The experience of the installer can also affect the ease of installation. A professional installer with years of experience will likely have an easier time installing wood flooring than a novice DIY installer.
Overall, wooden flooring is noted to be simpler to install than most other types of flooring. As for any other flooring such as tile or carpet, wood does not need grout or any form of adhesive in its fixing process. One advantage of the planks is that they can be used by nailing or gluing, hence making the process of installation faster.
However, there are some obstacles and vectors which may become critical when use wood flooring. For instance, there and may be some drawbacks that are associated with installation of wood flooring; these include the fact that it can be relatively costly to install as compared to some of the other floor types; and that it may also be more costly to maintain over specific span of time.
Moreover, using wood flooring sometimes comes with some disadvantages like the formation of scratches and dents that may call for sanding and refinishing to be done. Last but not least, if one wants to secure wood flooring, then the process may be quite a time-consuming one, particularly, if the room is large or has an intricate layout.
However, understanding all the information focal on the wood flooring installation it is not so difficult to install them all by your own. Therefore, it could be wise to consult a professional installer with experience in the installation of wooden flooring as this will lead to the best outcome.
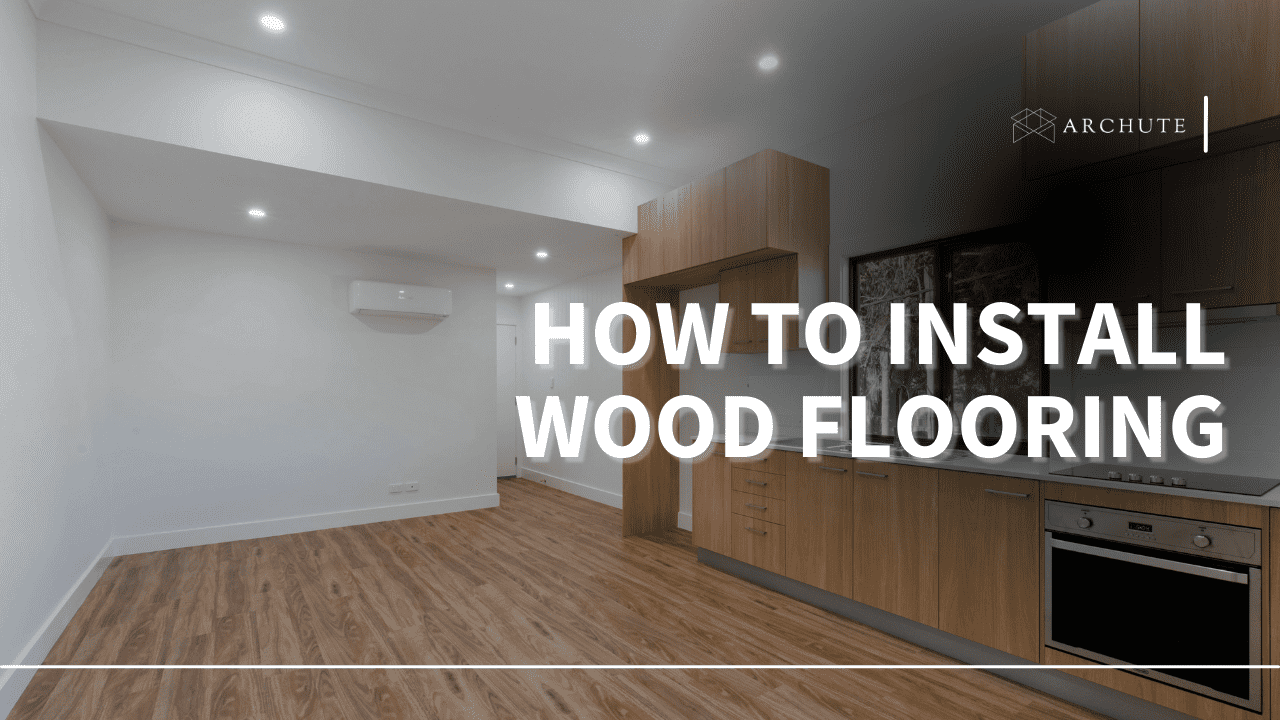
How to Install Wood Floors
Installing wood flooring can be a great way to enhance the look and value of your home. Here are the steps you should follow for a successful wood flooring installation:
1. Tools and Materials Needed
The essentials for laying your flooring are so basic you’ll probably have most of them in your home already. You need a pencil, a measuring tape, and a hand saw. You’ll also need some underlay, which you can purchase from your floor specialist or any nearby DIY store.
And, of course, you’ll need the click vinyl flooring, laminate, etc. Laminate, solid hardwood floors, and engineered wood floors don’t like the humidity to different degrees, so you’ll have to acclimatize them. This is as simple as leaving the panels unwrapped in the room they are supposed to be laid in overnight. They’ll soon get used to the temperature and humidity.
2. Preparation of the Subfloor
It is very important to prepare a subfloor before laying wooden floorings as discussed below concerning some of the crucial tips. By preparing a proper subfloor, it will be assured that there will be a good level that will support the flooring so that it will be installed effectively to ensure that it will last long. Here are the key points to keep in mind when preparing the subfloor: Here are the key points to keep in mind when preparing the subfloor:
Evaluate the condition of the subfloor: There is something else that needs to be considered before placing wood flooring and this include the inspection of the sub floor. It cannot be dusty, wet or contain any other type of material such as paint or glue on its surface On the floor structure of the subfloor, it is required that the surface must be smooth without any dust pollen, oil or paint or any type of adhesive material. It also should be flat ground; in other words, there should not be any high spot or low spot to place it.
Repair any damage: There are some conditions that should be met before putting the wood flooring; if the subfloor is bad it requires repair before it is covered with the flooring. This may require sealing and finishing areas such as cracks and pits, creating a flat surface of the subfloor, or using new material to replace the defective parts.
Check for moisture: One should also consider the acoustical properties of wood flooring for example the level of moisture in the sub-floor. Water can damage a solid hardwood floor by making them buckle after some time or after some few years, therefore it is important that the subfloor is not wet before the floor is laid.
Install a moisture barrier: If the subfloor is concrete or is concerned about moisture, a moisture barrier should be installed before the wood flooring. This can be a layer of plastic sheeting or a special moisture barrier product designed for this purpose.
Check for levelness: It is for this reason that in order to do a good job of wood flooring, one has to construct a good level subfloor. It is important to noticed if the subfloor is flat or not; this requires to levelling it by a compound or using compressor sander on floor elevation.
3. Laying the Underlayment
Laying the underlayment when installing the wooden floor is one of the most critical step when undertaking the task. Understanding the role which the best underlayment for wood floors plays is crucial; it must work as a barrier that separates subfloor and new flooring to avoid the moisture penetration on the wooden surface and also supply a proper level on which the latter is to be installed.
Here are some crucial points to consider when laying the underlayment:
Choose the right type of underlayment: There are varieties of underlayment that can be used for the construction; foam, cork and plywood can be used. Each type has its advantages and disadvantages, consequently it is important that one is to select the one that best suits the specific flooring and subflooring systems.
Ensure the subfloor is clean and level: However, it is crucial to noting that before installing an underlayment to a subflooring there should not be any debris or dust on the floor as this may affect the underneath flooring. It should also be level and free of any lumps or imperfections as these will compromise both the underlayment and the floor to be installed.
Overlap the underlayment sheets: Regarding the installation of the underlayment, it is crucial to precisely overlap the sheets several inches to get the complete protection and not leave any gaps. This will ensure that there is no outbreak of dampness, which can in one way or the other negatively affect the flooring system.
Tape the seams: Depending on the type of foam used, the next step after laying the sheets is to cover the joints with tapes tightly for a tight bond. This will also help to ensure that moisture does not find its way into the room and affect the flooring where it will result to formation of stains or it s breakage.
Trim excess underlayment: Any excess material should be trimmed away once the underlayment is laid and taped. This will help ensure a smooth and even surface for the new flooring to be laid on.
4. Installing the First Row of Flooring
When installing wood flooring, the first row is one of the most critical steps to get right. Here are key points to keep in mind when installing the first row of flooring:
Determine the starting wall: Start the first row of flooring along the longest straight wall in the room. This will create a straight reference line for the rest of the flooring installation.
Measure and cut the first board: Measure the length of the first row and cut the first board to the appropriate length, leaving a 1/4-inch gap between the board and the wall for expansion. Use a table saw or circular saw to cut the board.
Install the first board: Place the first board against the starting wall, with the tongue facing out. Ensure it is flush against the wall and aligned with the reference line. Nail or staple the board into place, ensuring the fasteners are at a 45-degree angle.
Install the next board: Place the next board end-to-end with the first board, the tongue, and the groove interlocking. Use a tapping block and a hammer to tap the board into place gently. Nail or staple the board into place.
Continue installing the first row: Continue installing boards this way, ensuring they are straight and aligned with the reference line. Cut the last board in the first row to fit as needed.
Check for gaps: Check for gaps between the boards as you go, and use a pry bar or tapping block to adjust them as necessary.
Repeat for subsequent rows: For additional rows, just follow the same process this time ensuring that the end joints of the boards are staggered by at least 6 inches.
5. Laying Subsequent Rows of Flooring
The process of placing subsequent layers of floor supplies could also be an important section of putting in onerous wood flooring. This is a process whereby the tongue and groove boards are fitted and joined to make the complete floor with the least gaps to make it strong. Here are key points to keep in mind when laying subsequent rows of flooring: Here are key points to keep in mind when laying subsequent rows of flooring:
Stagger the boards: Do not use a regular pattern and avoid placing bars of the same size in one rank within one line. Do not put them closely together but in a disorderly or rather natural way so that you can be able to complete the floor part of the deck.
Maintain proper spacing: Ensure that the expansion gap between the boards and the walls is correct, to accommodate the expansion and contraction of the flooring from changes in temperature and humidity. To retain the gap in equal distances, it is advisable to use spacers.
Use a tapping block and mallet: Connect the tongue and groove boards by tapping them together with a tapping block and mallet. This will ensure that the boards fit snugly together and prevent gaps from forming.
Secure the boards: Use a flooring nailer or stapler to secure the boards to the subfloor. Make sure to angle the nails or staples at a 45-degree angle to prevent them from popping up over time.
Check for level and flatness: Level and straight edge should be used to check the orientation as a way of ensuring that each row is flat and level. In the process of preparing the slabs, use shims to level the boards or sand until there are no high spots observed.
Trim the last board: The last board in each row must be cut to fit. Use a saw to carefully cut the board to the proper length, leaving the appropriate expansion gap between the board and the wall.
6. Cutting and Fitting the Last Row of Flooring
Cutting and fitting the last row of flooring can be challenging when you install hardwood floors. However, achieving a professional-looking finish with the right tools and techniques is possible. Here are crucial points to keep in mind when cutting and fitting the last row of flooring:
Measure the space: Before cutting the last row of flooring, measuring the remaining space between the last row of flooring and the wall is important. This will help you determine how wide the last row of flooring needs to be and whether it needs to be cut to fit.
Cut the planks: With a saw or a jigsaw, cut the planks to the required size. Power tools should always be used with protective eyewear and earplugs. Measure the width and length of the gaps for the planks then saw the planks to the required width and length, still leaving some space for expansion.
Test fit the planks: After the planks have been cut, do an examination to check for any gaps between the planks and the wall before you proceed to stain the particular plank. If required then further shave the planks to make a proper clearance with other plank and fittings.
Install the planks: Once they have been cut to size and test fit, apply adhesive to the back of the planks and fit them into place. Use a tapping block and a mallet to gently tap the planks into place, ensuring they are level and flush with the rest of the flooring.
Install the baseboards: Once the last row of flooring has been installed, it is time to install the baseboards or trim. Use finishing nails or adhesive to attach the baseboards to the wall.
7. Installing the Baseboards or Trim
When installing hardwood floors, the final step is to install the baseboards or trim. Here are some important points to consider:
Choose the right type of baseboard or trim: There are a variety of baseboard and trim styles available, so choose the one that complements the flooring and overall decor of the room. Common types include base shoe, quarter round, and cove molding.
Measure and cut the baseboards or trim: This involves measuring the length of each wall that rails or base caps also known as the trim will be fixed on. There are other types of trim as well that consist of the baseboards, the miter saw or the hand saw should then be used to cut the baseboards to the right length and angle at corners.
Pre-paint or stain the baseboards or trim: It is easier to paint or stain the baseboards or trim before installation. This way, the baseboards or trim can be installed and touched up if needed.
Attach the baseboards or trim: Use finishing nails to attach the baseboards or trim to the wall. Start at one end of the wall and work down, spacing the nails evenly apart.
Fill nail holes and caulk gaps: Use wood filler to fill the nail holes and any gaps between the baseboards or trim and the wall. Allow the filler to dry, and then sand it smooth. Use caulk to fill any remaining gaps between the baseboards or frame and the wall.
Touch up paint or stain: Once the filler and caulk have dried, touch up the paint or stain on the baseboards or trim as needed.
Our Top Tips
Investing in some knee pads can make the whole process a lot easier. You’ll be crawling around a lot, and your knees will thank you when you put your feet on your new flooring. You can also make the sawing easier on yourself by switching to an electric chop saw or jigsaw.
If you want the best results, keep a spirit level nearby and measure as you go. You don’t want to notice a rise in one of the middle pieces once you’re done and have to tear the whole thing apart to solve it.
It’s also suggested that you get some spacers, especially for the laminate flooring option, as you’ll have to keep a 10mm space between the flooring and everything else in the room, including walls, skirting, door frames, stairs, other flooring, radiator pipes, and kitchen units.
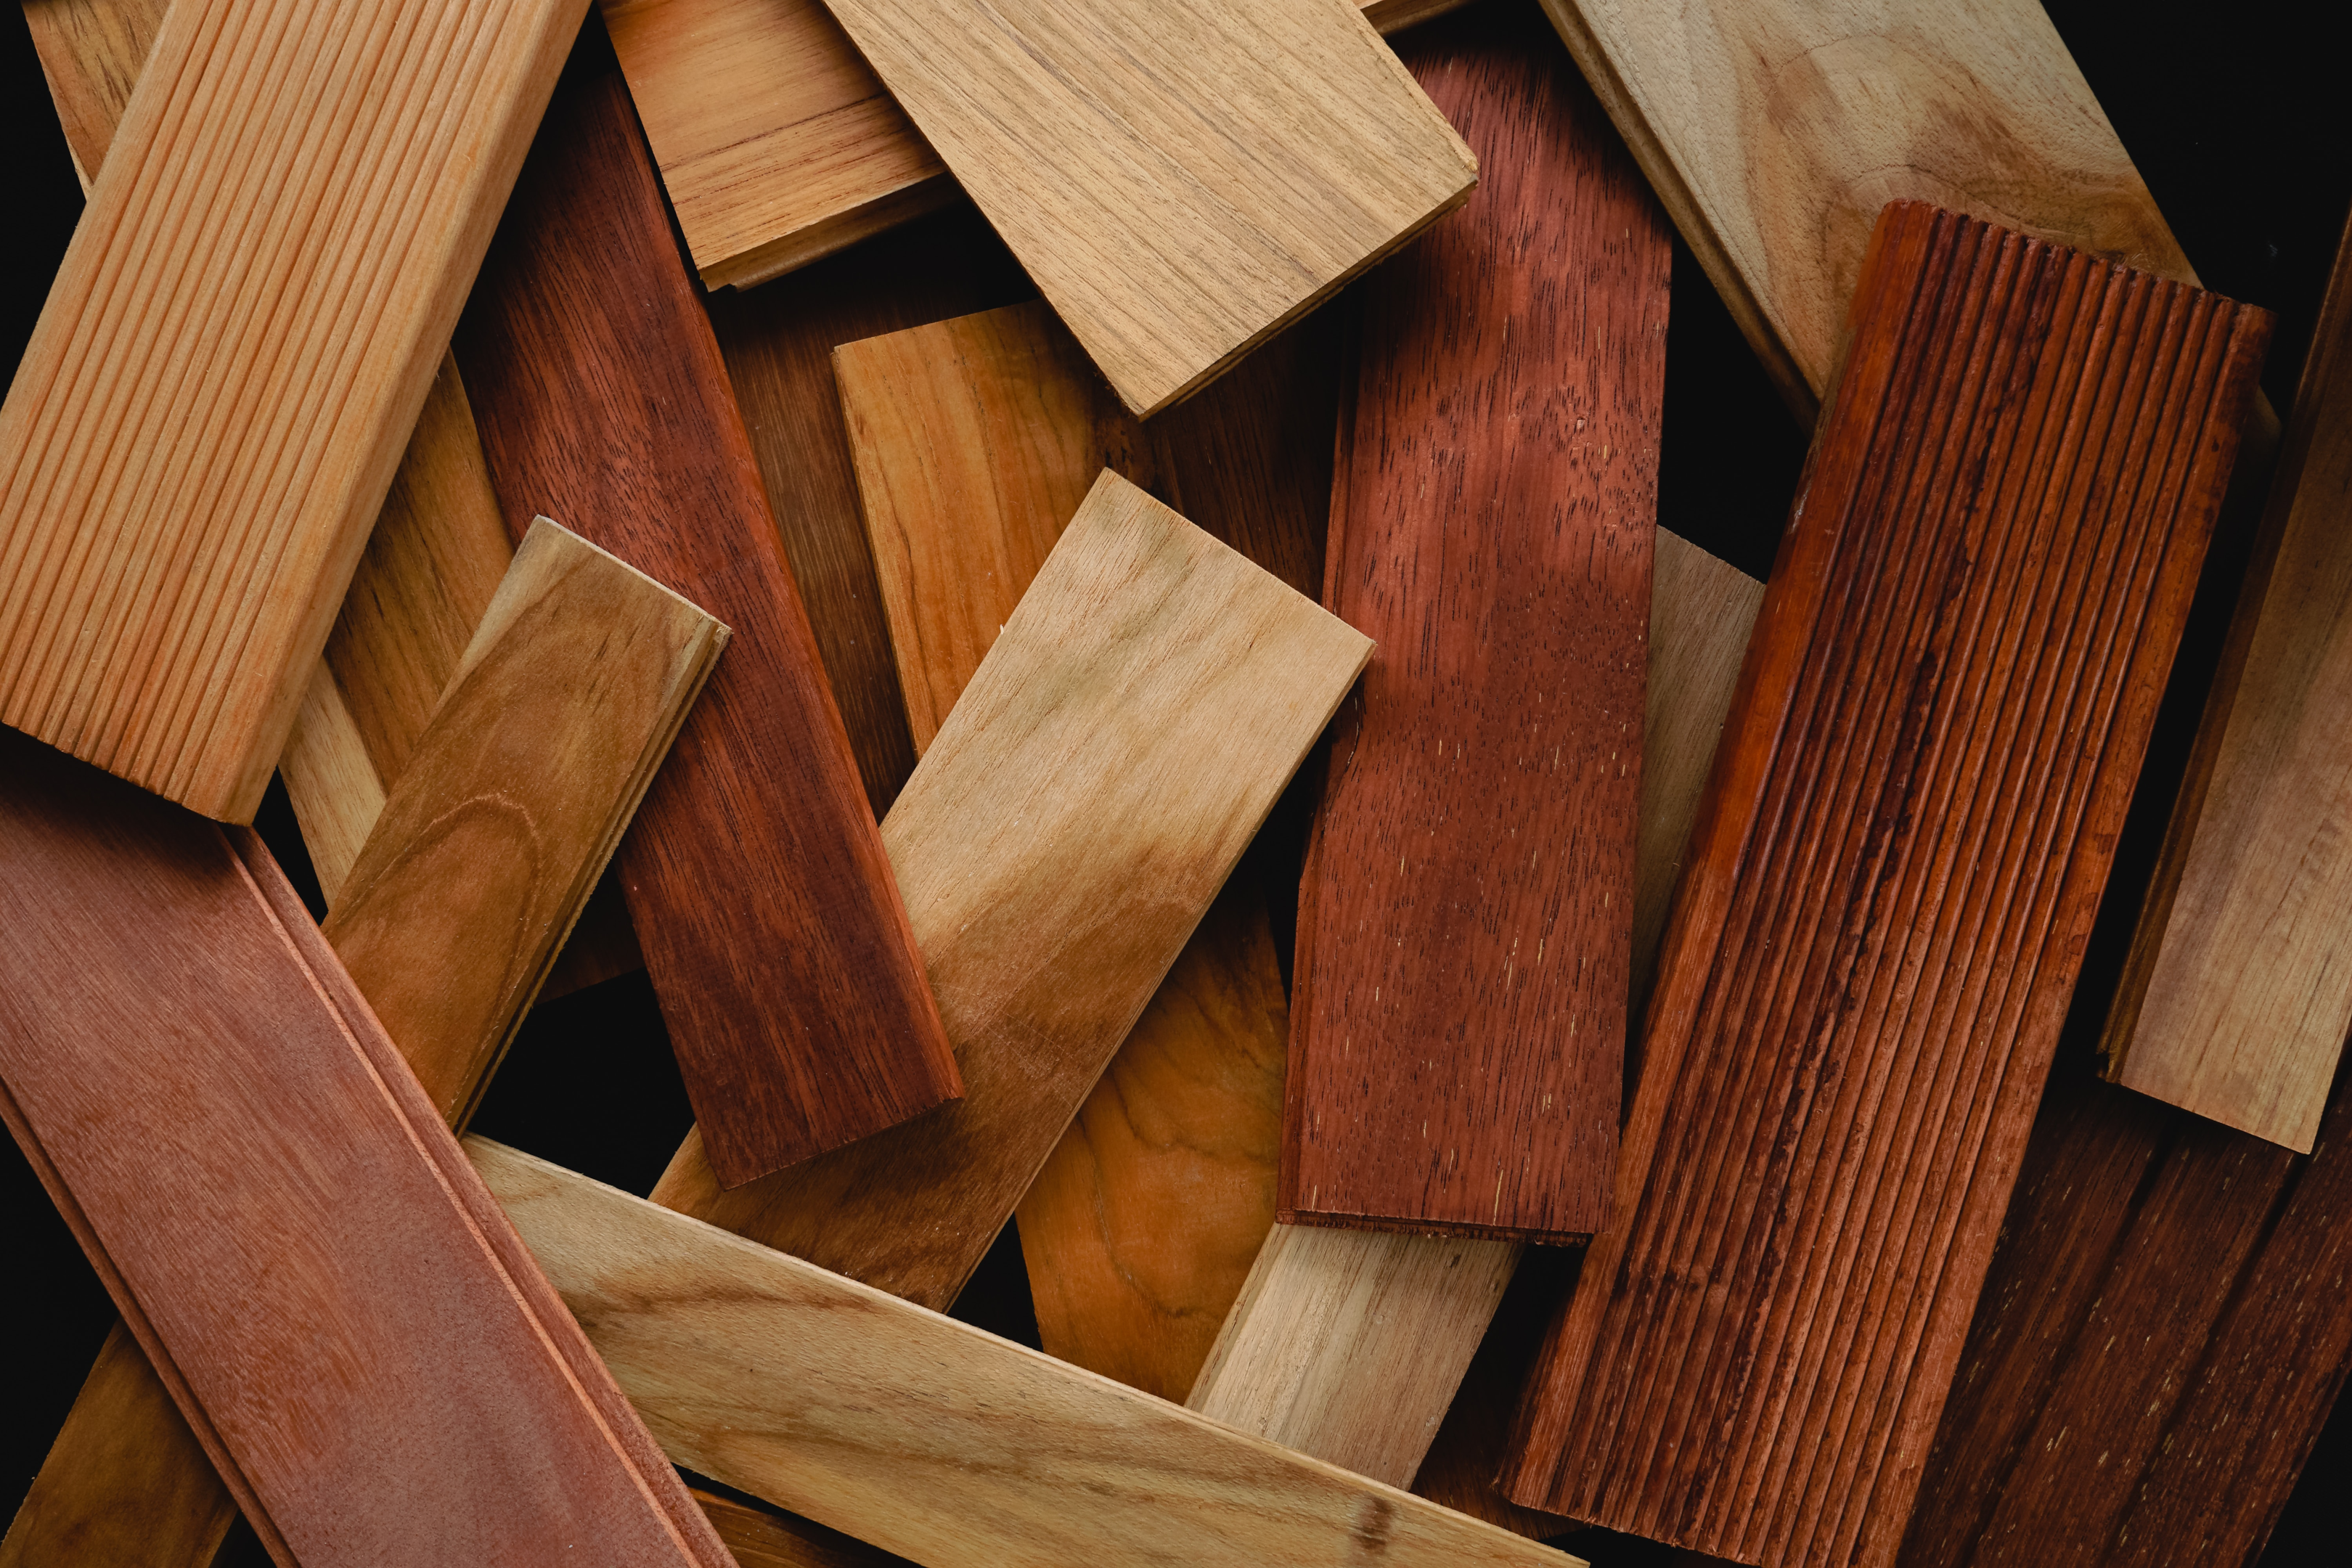
What Are The Differences Between the Floor Types?
Some types of flooring are more involved than others to lay. The laminate is the simplest and takes the least amount of tools.
Solid wood flooring takes wood to concrete glue or flooring nailer, depending on what you’re laying your floor on, and because it expands and shrinks in the humidity, the spacing between it and everything else is extended to 10-12mm. There are also different instructions for whether you are installing concrete or plywood.
Engineered flooring has a few ways to install it. You will also need a nailer if you’re going down the nail installation route, flexible wood flooring glue if you’d instead stick it down, or PVA glue and underlay if you’re going for a floating installation.
LVT flooring isn’t as solid as the other options, so you can forgo the saw for a Stanley knife, and the spacing is reduced to 7-10mm. But you will need an underlay and a rubber mallet. The LVT underlay makes vinyl wood panels waterproof, so you must get that laid down well before you put it in your next panel.
You’ll have to do the two in succession, and when you’re done, you’ll be left with a beautiful, maintainable floor that you have laid with your hands. Well done.
Frequently Asked Questions (FAQs) on Installing Wood Flooring
1. Can I install wood flooring myself?
Nevertheless, if you want to know how to lay hardwood flooring, it is possible to do it on your own. However, there are slight differences on how simple or complicated the installation process can be depending on various factors such as the specific type of Wood Flooring and the tools and other material that might be required in the process of the flooring .
2. What is the method of installation of wooden flooring?
The installation method for wooden flooring can vary depending on the type of flooring, but it typically involves preparing the subfloor, laying an underlayment (if needed), and then laying the flooring in a specific pattern. The last row of flooring may need cutting to fit the remaining space.
3. Do I need underlayment for hardwood flooring?
Well, this is determined with the kind of hardwood floor you want to lay down and the state of your sub floor. An underlayment is useful in ensuring that the flooring product is provided with underlayment that has capability of minimizing noise transfer, increasing insulation, and ultimately making the installation surface to be smoother.
4. What is best to put under a hardwood floor?
There are various products which can be used for placing under hardwood floors, and the options vary with the type of the hardwood floor and the state of the subfloor. Common choices for underlayment are cork, foam, felt, or rubber and felt tapes are most preferred by homeowners because of its ability to make less noise.
5. Can you lay wood flooring on concrete?
Yes, laying of wooden floor on concrete sub floor is possible, at least that is what the technological process indicates. But it must be put a vapor barrier or moisture barrier in order not to allow moisture in the wood.
About the author
Brenda Nyawara
Brenda Nyawara is an editor at Archute. She is a graduate architect with a passion for edge-cutting ideas in design, fashion, art and modern world interests.
 Deciding on a wooden floor for your house is not a small feat since it acts as a determinant of the price of the house in the future. Nevertheless, the situation is that despite the fact it can be easily installed it depends on some certain factors though it is rather easy to install. Here are some factors that affect the ease of installation:
 Installing wood flooring can be a great way to enhance the look and value of your home. Here are the steps you should follow for a successful wood flooring installation:
 When installing wood flooring, the first row is one of the most critical steps to get right. Here are key points to keep in mind when installing the first row of flooring:
 Cutting and fitting the last row of flooring can be challenging when you install hardwood floors. However, achieving a professional-looking finish with the right tools and techniques is possible. Here are crucial points to keep in mind when cutting and fitting the last row of flooring:
 Some types of flooring are more involved than others to lay. The laminate is the simplest and takes the least amount of tools.
Solid wood flooring takes wood to concrete glue or flooring nailer, depending on what you’re laying your floor on, and because it expands and shrinks in the humidity, the spacing between it and everything else is extended to 10-12mm. There are also different instructions for whether you are installing concrete or plywood.
Engineered flooring has a few ways to install it. You will also need a nailer if you’re going down the nail installation route, flexible wood flooring glue if you’d instead stick it down, or PVA glue and underlay if you’re going for a floating installation.
LVT flooring isn’t as solid as the other options, so you can forgo the saw for a Stanley knife, and the spacing is reduced to 7-10mm. But you will need an underlay and a rubber mallet. The LVT underlay makes vinyl wood panels waterproof, so you must get that laid down well before you put it in your next panel.
You’ll have to do the two in succession, and when you’re done, you’ll be left with a beautiful, maintainable floor that you have laid with your hands. Well done.
Some types of flooring are more involved than others to lay. The laminate is the simplest and takes the least amount of tools.
Solid wood flooring takes wood to concrete glue or flooring nailer, depending on what you’re laying your floor on, and because it expands and shrinks in the humidity, the spacing between it and everything else is extended to 10-12mm. There are also different instructions for whether you are installing concrete or plywood.
Engineered flooring has a few ways to install it. You will also need a nailer if you’re going down the nail installation route, flexible wood flooring glue if you’d instead stick it down, or PVA glue and underlay if you’re going for a floating installation.
LVT flooring isn’t as solid as the other options, so you can forgo the saw for a Stanley knife, and the spacing is reduced to 7-10mm. But you will need an underlay and a rubber mallet. The LVT underlay makes vinyl wood panels waterproof, so you must get that laid down well before you put it in your next panel.
You’ll have to do the two in succession, and when you’re done, you’ll be left with a beautiful, maintainable floor that you have laid with your hands. Well done.