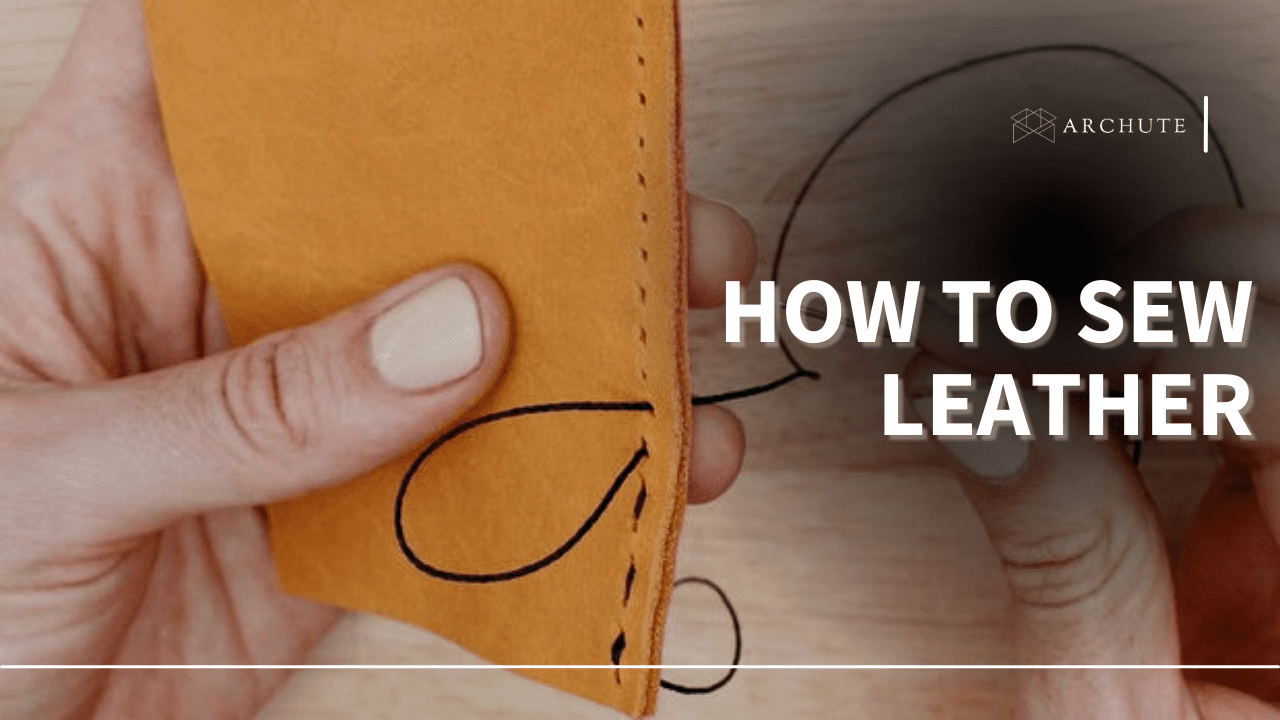
Hand sewing leather is not a difficult craft, even for people who have no prior experience. The only difference when sewing leather is punching holes where you will thread.
If you want to sew leather with your home sewing machine, you would only need to make a few adjustments to the sewing machine. Sewing leather requires the same energy and skill as fabric sewing as long as you have a good quality machine.
To learn more about how to do both, keep reading this article to learn all the tips you require to sew leather at home.
How to Sew Leather By Hand
When you want to sew your leather pieces by hand, the following are the leatherworking tools you will need;
- Two pieces of leather
- Adjustable stitch groover or a ruler for marking sewing lines
- An overstitch wheel, a sewing awl, or a stitching chisel for punching holes
- Waxed threads
- Leather sewing needles- should be large and blunt
- Sharp scissors, roller cutter, or a craft knife
- Tape measure
- A stitching pony
Step 1: Punching the stitching holes
- Prepare the stitching line. If you want to mark curved lines, you are probably better off using an adjustable stitch groover. It is also an ideal crafting tool for marking lines on stiff leather. Alternatively, when you want to mark straight lines on softer leather, you can decide to use a ruler and an awl. If you use a ruler, be careful when rotating it at corners to keep your design neat.
- Mark hole placements with an overstitch wheel to punch holes with an awl. Choose your preferred head for your ideal spacing and run the wheel along your sewing lines mark to create a dotted line. Once you've marked the spacing, use the awl and mallet to punch clean holes on each mark left by the wheel.
- Alternatively, you can use a stitching chisel to punch holes along the sewing line. It's a more straightforward method because you can skip using the overstitch wheel and awl and punch your holes in less time. To use the stitching chisel, choose your ideal prong for the best spacing. To make the holes, place the chisel over your sewing line and hit it mallet to make clean holes. To avoid making uneven holes, always overlap the last hole in your last punch.
Step 2. Prepare your needle and thread
You need to use a thick waxed thread; you can use some beeswax or candle to wax it. A thick thread can withstand the pressure of being pulled through the holes, and the wax makes it easier to pull through. It also makes it sticky to withstand the test of time.
It would help if you also used strong needles to make sure they don't break as you pull them through the holes. Large needles also make it possible to use pliers to pull them if your leather is stiff or your hands sweaty.
It is best to perform a saddle stitch method on leather to make sure it doesn't come undone. Therefore, you need to have a thread that is at least 2.5 longer than the leather material you want to sew. Follow the following steps to measure the thread and thread your needles;
- Measure the seam of your leather pieces using the tape measure.
- Multiply the size of your leather by 2.5 to measure the thread you need. Once you have the thread measured, use your scissors to cut it.
- Pass it through the eye of your leather needle and create a loop to make sure it doesn't come off as you pull the needle through holes.
- You can thread two needles if you want to use two for the stitches.
Step 3: Start the saddle stitching method
In this step, you can choose to use one needle for the stitches or two needles if you have the mastery.
Stitching using one needle
The method includes using one needle for two passes.
- Insert the needle into the first hole.
- Pull the thread at least 2 inches, and then pass through the second hole.
- From the second hole, pull your thread at least 2 inches again and thread back to the first hole. This creates a lock for the first stitch.
- Pass the needle again from the first hole to the second.
- From here, proceed to the third hole and use the second hole to lock your second saddle stitch.
- Repeat for all the holes on your seam. When you reach the last hole, follow the same method to stitch backward to where you started.
- When you are back to the first hole, backstitch a few steps to lock your saddle stitch.
- Use your scissors or the craft knife to cut the thread closer to the leather.
While threading, make sure to tighten the stitches but not too tight to buckle the leather.
Saddle stitching using the two-needle method
- Place your leather material between the pony's jaws. Tighten the clamps to hold the leather in place.
- Sit down and position your stitching pony between your legs.
- Pass one stitching needle through the first hole and make sure the thread is equal on both sides of the seam.
- Starting from either side, pass one needle through to the second hole for a single stitch.
- Thread the other needle through the same hole from the opposite direction as you pull the first thread to tighten it.
- As you get the first single stitch on each side, continue the process with the rest of the holes to the last hole. Once you pass both needles through the last hole, stitch backward about 4 steps to lock your saddle stitches.
- Use your rotary cutter to cut the end of the thread very close to the leather.
How to Sew Leather Using a Sewing Machine
If you know how to sew any fabric with a sewing machine, the following are the adjustments you need to use the same machine for leather sewing.
- Change the presser foot for a Teflon foot or a roller foot.
- Change your machine needles to use leather needles.
- Use a longer stitch length than you use for regular fabrics.
- Use a polyester or nylon thread for leather. A cotton thread can stain your leather with time.
- Tape pieces of leather together instead of using pins.
- Test your machine of a scrap piece of leather before starting your sewing project.
- Don't sew many layers simultaneously.


