It is best to prime before painting, but primer must completely dry before you can paint over it. So, how long does it take for primer to dry? The drying time of primer ranges from 30 minutes to 6 hours. So, on average, the primer will be dry enough for the top coat application 2 hours after applying it.
Many manufacturing brands advise waiting at least an hour before painting over primer. Water-based primers dry more quickly than oil-based primers because water evaporates from the primer coating more quickly than oils.
Here is the best paint primer for walls to help paint adhere better.
What Happens When You Apply a Coat of Paint too Quickly?

Image Credits: The Spruce
The paint won't adhere to the primer correctly since it will still be wet, resulting in the entire paint coating peeling and tearing.
The primer is covered in stains if the paint is applied over it too quickly. This is because the moisture in the priming covering will generate dark and discolored patches in the paint by penetrating through it. In addition, porous materials like wood can be damaged if the paint is applied over them too quickly.
You will waste paint if you start painting too soon. To top it all off, the color and durability of the finished product will be pretty bad. So instead, wait long enough for the primer to dry.
How Long Does Primer Take to Dry
1. Dry Time Between Primer Coats

Image Credits: Two-Day Painting
The primer needs time to cure before applying the second coat. This will typically take 60 minutes. Water-based or latex primers can dry in less than 60 minutes since water is a quick-drying solvent. However, it can take well over 2 hours before you can apply a second coat of oil-based primer.
2. Dry Times For Various Primer Types
a) wood Primer

Image Credits: Indigo Paints
About 30 minutes to 2 hours are needed for a wood primer to dry. Wood primer dries more quickly because water is typically used as the solvent. Therefore, it dries quickly because water vapor leaves the body quickly.
Additionally, most wood primers contain shellac in the paint formulation and are typically stain-blocking sealers. Shellac is a moisture-resistant, stain-blocking, and quick-drying ingredient that helps primers stop bleed-through.
The wood primer starts to dry as soon as you release the brush from its final stroke. Wood primers are typically dry enough to be painted an hour after applying the primer coating.
However, it will take longer for the wood primer to cure if applied in a wet environment since the high humidity will make the paint wet. The dry time of the primer is also influenced by the type of wood, as some types are more porous than others.
b) Spray Primer

Image Credits: Brewers
Spray primer needs between one and six hours to dry. On average, spray primer can be painted two hours after applying the primer coating.
Spray primers typically take longer to dry because they contain additives like glycerin, glycol, and plastic resins. These ingredients are incorporated into the paint formula to enhance the quality of the primer layer. However, they also lengthen the primer coating's drying period.
It also takes longer to dry spray primers with polymers in the paint recipe. It may take up to 6 hours for spray primers to cure completely. However, some spray primers are water or latex-based; therefore, they dry quickly.
c) Acrylic Primer

Image Credits: Sov Chem
Acrylic/ epoxy primer needs between 30 minutes to 4 hours to dry. It typically cures less than 2 hours after application, but the weather greatly influences the drying period. It will dry more slowly in cool weather than in warm or hot temperatures.
Epoxy primer also takes longer to dry because it was made for steel or metal. Therefore, it takes a while to adhere to the slippery steel surface.
3. Indoors vs. Outdoor Dry Time
a) Outdoor

Image Credits: Indigo Paints
Primer needs anywhere from 30 to 60 minutes to dry outside fully. This is because the rate of evaporation increases since the primer coating is exposed to heat and direct sunshine. On the other hand, exterior primers can take longer to dry because they are intended to survive in a challenging outdoor environment.
The paint primer will take longer to cure because of additives, such as UV blockers. In addition, outdoor paint primer takes a very long time to dry when it's chilly. This is due to the extremely damp atmosphere. Therefore, avoid using a primer in the winter if you intend to.
b) Indoor

Image Credits: Indigo Paints
Indoor primer drying is slower than outdoor drying because there is less cool air exposure or direct sunshine. As a result, the primer will dry more slowly. Indoor primer usually takes an hour; however, it dries quicker than outdoors during the chilly winter since it is protected from moisture.
Factors Affecting a Primer’s Drying Time
1. The Thickness of the Coat

Image Credits: Den Garden
A thin coat of primer may not sufficiently cover the irregularities of the surface beneath. So, you will probably make additional applications. However, applying too many thinner primer applications might lengthen the drying time.
The manufacturer specifies the number of coats of primer to use. Usually, two coats are sufficient. However, while using a sufficient amount of primer, you shouldn't go overboard and use too much.
2. The Type of Primer
There are several primers, such as latex, oil-based, shellac, and self-priming paints. However, you should be aware that the drying times for each of these primers vary, so think carefully before making your purchase.
a) Water-based
Water-based primers are latex primers perfect for priming fresh drywall. Additionally, they usually dry rather quickly, in about an hour.
b) Oil-based

Image Credits: Macj-a Buyers Choice
Oil-based primers are perfect for sealing porous surfaces and priming bare wood. These primers have strong adherence, making them fantastic bases for painting; however, they take longer to dry than other primers. Oil-based primers can occasionally take up to four hours to dry completely.
c) shellac
Shellac primers are used to hide difficult stains. They function well if the surface you want to paint has any damage, stains, or undesirable odors. Thankfully, they dry fairly quickly. The first coat of paint needs about an hour to dry.
d) Self-priming Paint

Image Credits: Clare
Self-priming paint combines the functions of a primer and paint. It's fantastic since the process takes less time because the result serves two purposes. First, the primer typically takes up to two hours to dry completely. However, some formulas can be ready for the next coat of paint in as little as an hour.
3. The Surface You’re Priming

Image Credits: The DIY Plan
It will take longer to work on some surfaces than others. For instance, it could take longer to dry if you prime new drywall, stained wood, or a darker surface because proper priming requires at least two thin applications. On the other hand, you may have to wait up to four hours for the metal to cure.
Here is the best paint for concrete basement walls and floors.
4. Ventilation
It would help if you had ample airflow, so the primer dries even more quickly. You can implement this by leaving your windows and doors open, especially when dealing with shellac- or oil-based primers. But, the drying time is shortened if you ensure good airflow.
5. Temperature and Humidity

Image Credits: Arizona Painting Company
High humidity and the ideal room temperature can speed up the drying process and ensure the primer dries. This explains why so many manufacturers stress the need to maintain colder temperatures. For example, some primers could require a room temperature of 40 to 80°F while the humidity shouldn't exceed 85%.
The primer takes longer to dry in an overly warm environment. However, if your room is too cold, you risk your primer being overly thick, especially when using oil-based or latex primers. Therefore, you should ensure the room has the right temperature before priming and painting.
This is true for outdoor uses as well. You risk destroying your work if the temperature and humidity are not quite right while priming and painting a surface outside. As a result, you'll need to monitor the weather prediction constantly.
How Can Primer Dry More Quickly?
1. Use a Dehumidifier

Image Credits: Truck Central
Either wait for a day with lower humidity to prime or speed up the process using a dehumidifier. This will lower the humidity levels in the house and hasten the drying of the primer.
2. Buy a Fast-Drying Primer
Self-priming paint is one of the alternatives for solutions designed specifically for quick drying. But you can also use a latex primer if you prefer a separate primer instead of a two-in-one solution.
3. Avoid Applying Thick Coats
Since you want to shorten the time it takes for your primer to dry, you shouldn't apply too many coats because thick coats take longer to dry. Instead, you can use a light primer layer that dries considerably more quickly.
4. Open Your Doors and Windows

Image Credits: Home Depot
As discussed earlier, you can improve the airflow by opening your doors and windows as it will help the primer to dry more quickly.
5. Use a hairdryer
A hairdryer is useful if you can't wait for the primer to dry on its own. Set your hairdryer to the cold air setting and gently blow air over the primed surface. Remember to keep the hairdryer at least a foot away from your surface.
What is the Best Primer Application Method?
Primer application is most effective using a paint sprayer so use it if you have one. It will provide a thin, even coat that dries quicker than priming applied with a brush or roller.
Here is the best paint sprayer for fences for a smooth finish.
How Many Coats of Primer Should You Apply?

Image Credits: Homely Ville
We advise applying at least two coats to prime a heavily painted surface, stained wood, metal, or fresh drywall. Most manufacturers also recommend using two coats of primer before a top coat. This protects your surface and stops tannins, mold, and mildew from bleeding.
Applying Primer for the Quickest Drying Time
1. Essential Materials
- Primer
- Step ladder
- Drop cloths
- Painter's tape
- A mask and safety goggles
- Sandpaper where necessary
- Brushes, rollers, a paint pan, or a spray painter
- How to Apply Primer Step by Step for the Fastest Drying
2. Select and Buy a Primer

Image Credits: AZ Central
The type of primer to buy depends on the project. Be sure to buy enough for the entire project. Generally, one gallon is enough for about 250–400 square feet.
3. Get the Surface Ready
Repair any dents or holes and wait for the drywall compound to dry if you're priming drywall. Then, sand the mended areas with the sandpaper until they are flush with the rest of the wall.
Make sure to clean all surfaces made of concrete, brick, and wood before priming. Use a pressure washer for the finest results. Lightly sand the wood and make sure it is spotless and level.
4. Protect the Surrounding Area

Image Credits: Decor Expro
Place drop cloths around the area and use painter's tape to tape off any edges to shield the other surfaces from the primer.
5. Get Ready to Paint
Follow the instructions in the paint sprayer if you're using one. Many sprayers require diluting the primer with water before use. However, if you're applying primer with a brush and rollers, briefly wet the roller with water before applying the primer. Then, fill the pan with the primer.
6. Cut in the Corners and Edges
The word "cutting in" refers to painting the border—Prime all of the top, bottom, and sides of each corner with a brush. You can use a brush for the entire project, such as painting a piece of furniture if it is tiny.
7. Apply the Primer

Image Credits: Home Depot
Use your paint sprayer to practice applying the primer on a piece of cardboard until you are confident using the spray pattern and motion required. When you are at ease, step back and evenly spray the area.
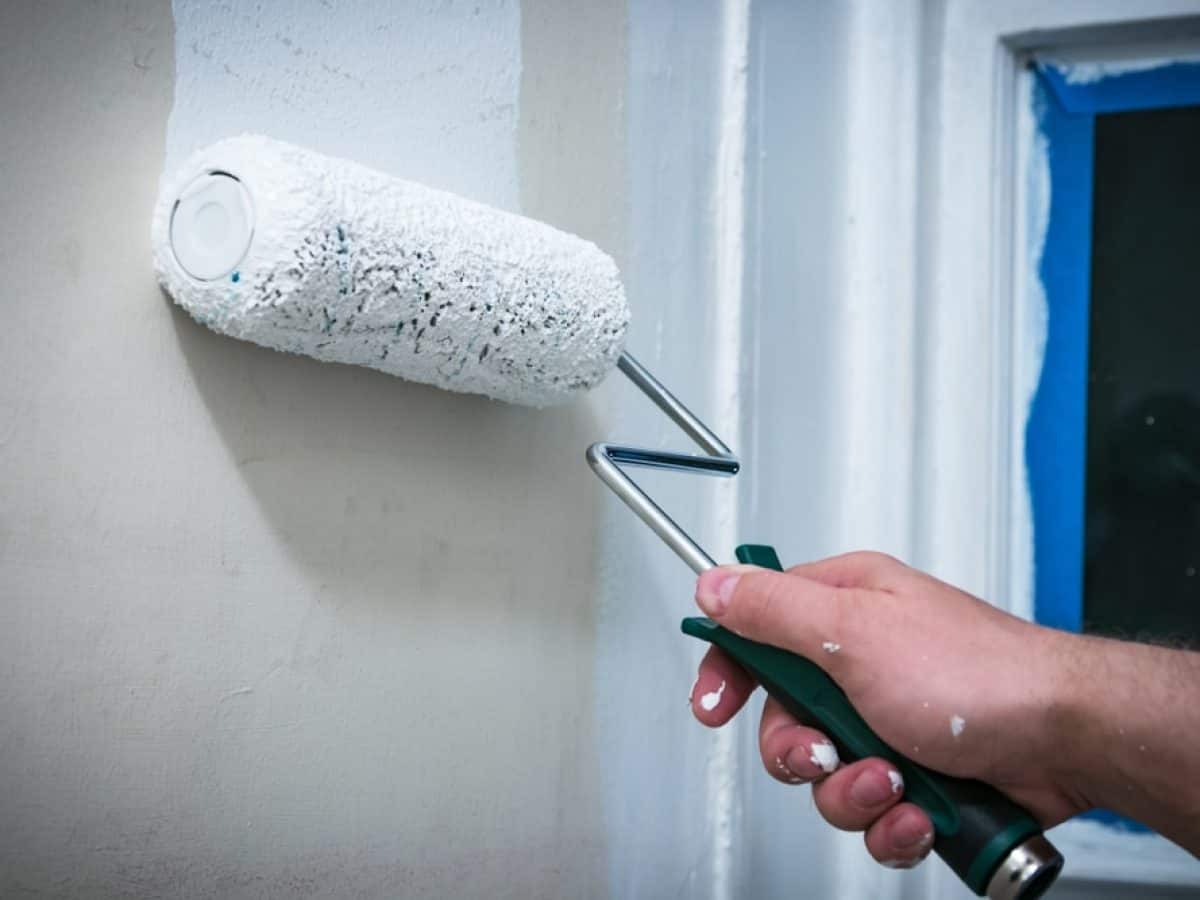
If you're using a roller, dunk it in the primer first. Then, making a "W" shape, apply the primer to the area in an upward and downward motion. Reload the roller as you progress through the project when necessary.
8. Let the Primer Dry
Test the dryness of the primed area by softly touching it after 30 to 60 minutes. Make sure it is totally dry before adding another coat or painting.
9. Sand the Area

Image Credits: Popular Painter
Not all surfaces call for sanding. Instead, sand any rough areas of drywall or wood to obtain a smooth surface, and use a wet cloth to remove the dust.
10. Repeat as Necessary
Multiple primer coatings are necessary for some jobs. Evaluate your project if you think a second layer will help seal the surface.

