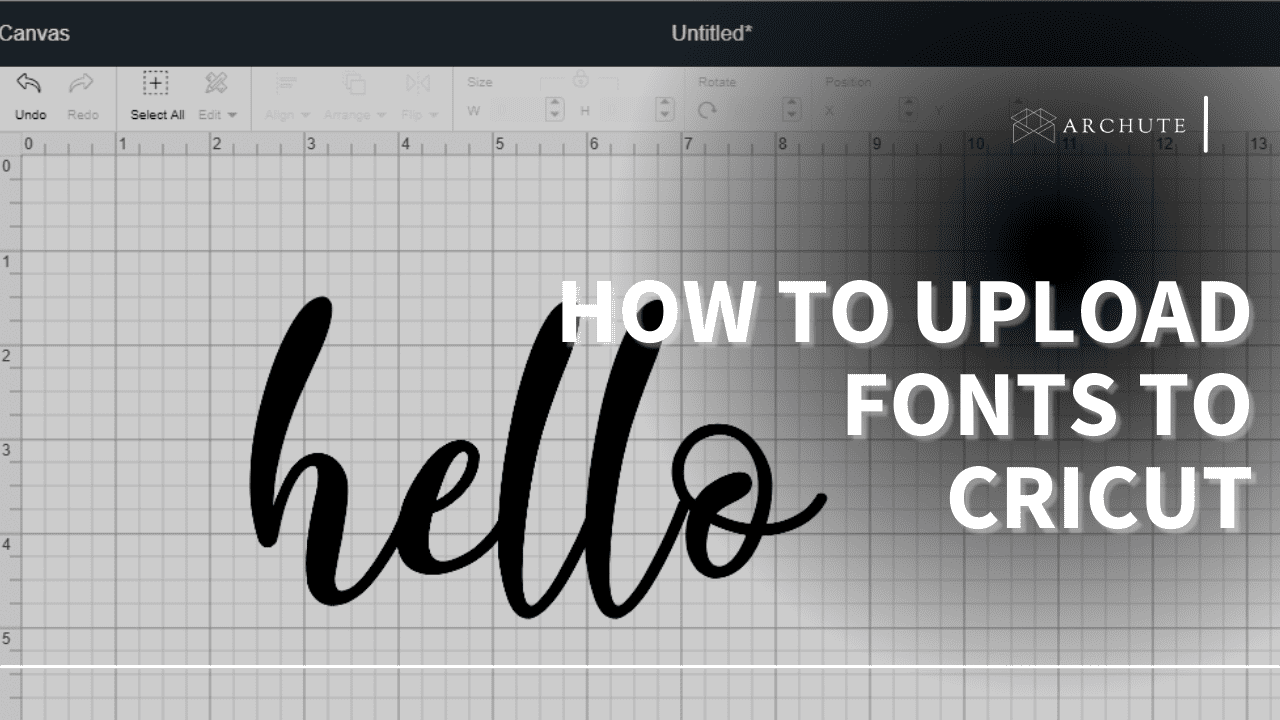
Ever wondered if you can use other fonts apart from the ones in Cricut Design Space? If so, you are in the right place. Uploading your fonts adds to the already unique fonts in Cricut improves your craft game by expanding your Cricut font collection.
Uploading fonts in Cricut Design is a skill every Cricut lover should know how to perform because fonts can make or break your project. Also, other times you need another selection apart from the Cricut Fonts. Below are the steps on how to upload fonts to Cricut:
Step 1. Find The Fonts
Finding a new font to download is the first step you need to take. We have listed some of the best sites where you can get various font choices, whether free or paid with a commercial license. All the font sites have a great variety of free fonts, and some come in font bundles subscription featuring unique fonts at a discounted price.
Professional creators who want to sell their craft prefer paying for a font to avoid getting copyright issues and at the same time support the creatives behind the font style. However, some advanced designers create fonts for themselves because they have creative handwriting but for other crafters who don't have the same advantage, downloading online also works. Some site we have not mentioned is called WhatTheFont, where you need a picture of a font you have discovered somewhere, and the site helps to identify the font.
2. Download the Font
Once you have decided the font(s) you fancy, the following step is to click the download button and download fonts to your computer and create a folder on your desktop to store your favorite fonts.
3. Open the Font Folder
It would help if you were keen on where your downloads go, depending on your device, whether it's Windows, Mac, an Ipad, or an iPhone. Once you click download on your screen, a little box will appear with the downloaded font in the bottom left corner and click on the arrow, clicking it open. Please select your font name and open it by double-clicking or right-click, depending on the system you are using.
4. Install the Font
Installing the font is different for Windows and Mac. The files will either be a True-Type Font file if it has only one style or a ZIP folder if the file has many layers. Every site will be different, but you should see a download button and click on it to download it with any site. To get the actual fonts, double click the folder, and a new dialog box will open with a font preview. Click on the install button to add the font to your computer, and now the downloaded font can be used by a crafter on their computer and Cricut Design Space.
Always ensure that Cricut Design Space is not open while doing font installation to avoid the font not getting updated automatically. If the new fonts are not showing up in Cricut, it means the program is not updating all the new fonts to Cricut Design Space. If this happens, try out these steps in their order:
- Refresh your page to check if you're new fonts are showing up in your Cricut font list.
- Sign out and sign back into Design Space
- If the two steps above are not successful, try restarting your computer.
If these above steps don't work, update your Cricut font library or check if you have downloaded a TrueType file to eliminate the problem being with the system font itself. This is because some system fonts may have design components that are not compatible with Design Space.
5. Use the Font in Design Space
To use the new download fonts in Design Space, click on the text tool and click on the font box arrow where a box will show you any font in Cricut Design Space where you can choose. Find your font download and click on it; you will be taken to the design screen, then click on the text box and start typing where the text will use the new font.
With the text placed, select it to see the text options, and when selected, you can change the font size, the writing style, the letter spacing, and even the curve. You can then click the font dropdown to select new Cricut fonts to use on your project. These steps are all you need to know how to add fonts to Cricut Design Space to use more of your projects. only to see the system fonts
Where to Find Fonts to Upload to Cricut Design Space
There are many sources from which you can find font files for your project where some are free and others you have to buy. Some free sources include:
- Dafont
- Google Fonts
- FontSpace
- FontSquirrel
- 1001FreeFonts
The other way to get system fonts is to purchase them, and the advantage of purchasing them is that they come with a commercial license. Commercial licenses are useful when you need to sell your projects because you have to use one that cannot be claimed as copyright. Some of the sites you can purchase unique fonts include:
- Etsy
- FontShop
- FontBundles
- CreativeMarket
Problems with Uploading Your Fonts to Cricut Design
1. It is essential to note that you don't usually upload the fonts to Design Space itself. The downloaded fonts are known as system fonts, and they are specific to the device you have installed in it. This is to means, if you download and install a font from your computer, the font will only work when you are using the same computer. Ensure you install the fonts across all your devices to use Design Space with different devices.
2. Not all fonts are cut-friendly because the Cricut cutting machine is designed to work with simple designs and clean lines. Some fonts are interesting and artsy but are not ideal for vinyl designs, so before you choose a font, think about whether your Cricut machine can be able to handle it. It is advisable to go with fonts that have straight lines and smooth curves.
Frequently Asked Questions
1. What is the purpose of script fonts?
Script fonts make any design appear more beautiful, where the files are ideal for use in clothing design like t-shirts, marketing campaigns, social media layout, film design.
2. Why are my fonts not showing up in the Cricut Design Space?
We have explained why the files may not show up in Cricut Design Space and how to go about it.


